

Hello Creatives,
Today I will be showing you an easy technique for creating DIY foiled projects. Here’s the thing, there are MANY MANY ways to foil your craft projects. I am thinking of doing a series on this so let me know if you are interested in the comments below! I decided that instead of just showing you how to foil I would create a functional project for you so… *in my Oprah voice* you get a free download; you get a free download, you get a free download! I created a simple invitation template that can be edited in Microsoft Word or Adobe Reader with your personal details. Ensure that you install THIS FONT on your computer before editing so the script will be the same as shown in the images below. Also this invitation is super flexible so you can edit it for any event.
The items you will need are: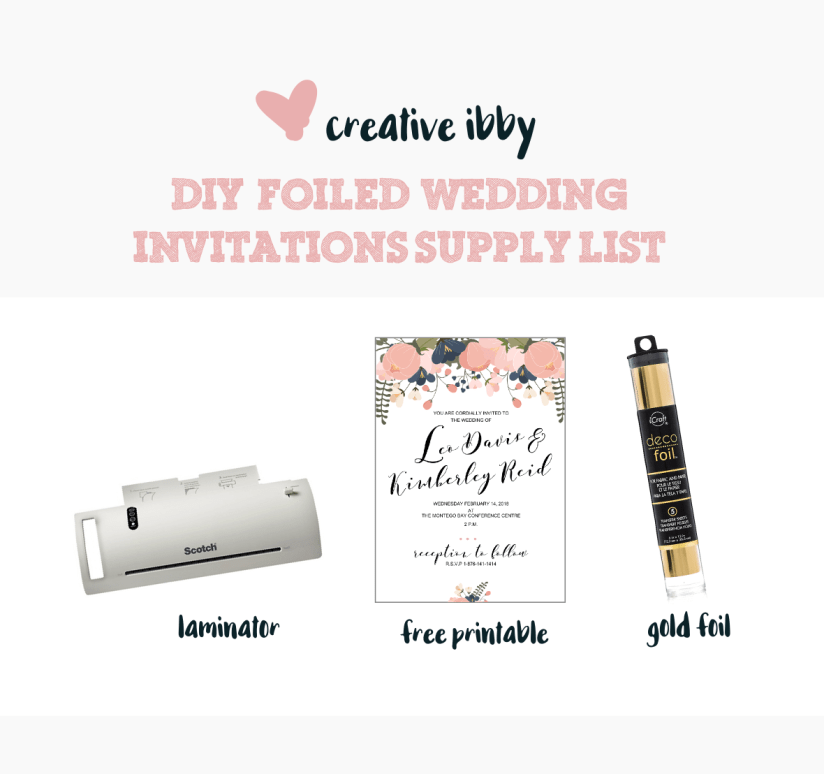
The foil can be purchased HERE. I bought this laminator at Walmart for about 20 USD. You can get laminators locally but they are pretty expensive. I have seen laminators at Innovative Solutions in the Soverign Centre, Kingston. When I had checked, they cost approximately 11,000 JMD.
To get started, follow this link to download the template and edit in Microsoft Word. There is also a PDF version (thanks to my friend from @digitalpaperstash) so you can use any one you prefer. Ensure that you have also downloaded the font above and installed it on your computer. After editing the word template, it is best to save a PDF copy if you will be printing professionally or from any other computer. If left as a word document the fonts will change when the document is placed on a different computer. Microsoft Word allows you to easily save as a PDF in the “Save as” dialogue box.
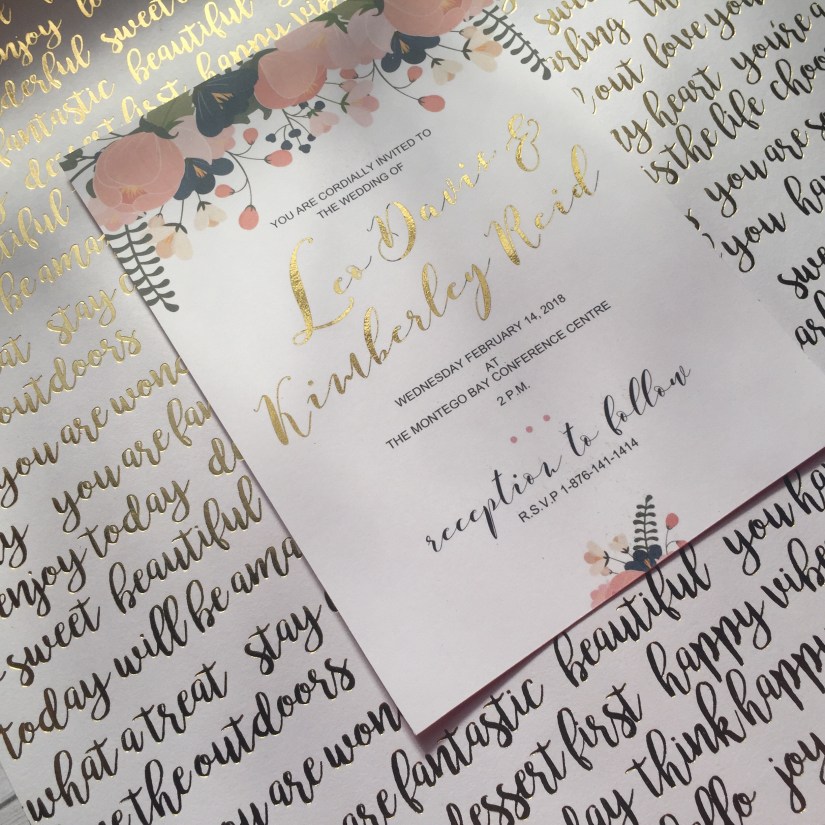 Print the invitation on a cardstock sheet of your choice. I used white cougar cover cardstock. To print the invitation you MUST use a toner printer. Most professional printeries use these types of printers so if you do not have one of your own you are not out of options. This technique will NOT work if the ink used is not toner as the foil reacts with toner to adhere to the paper.
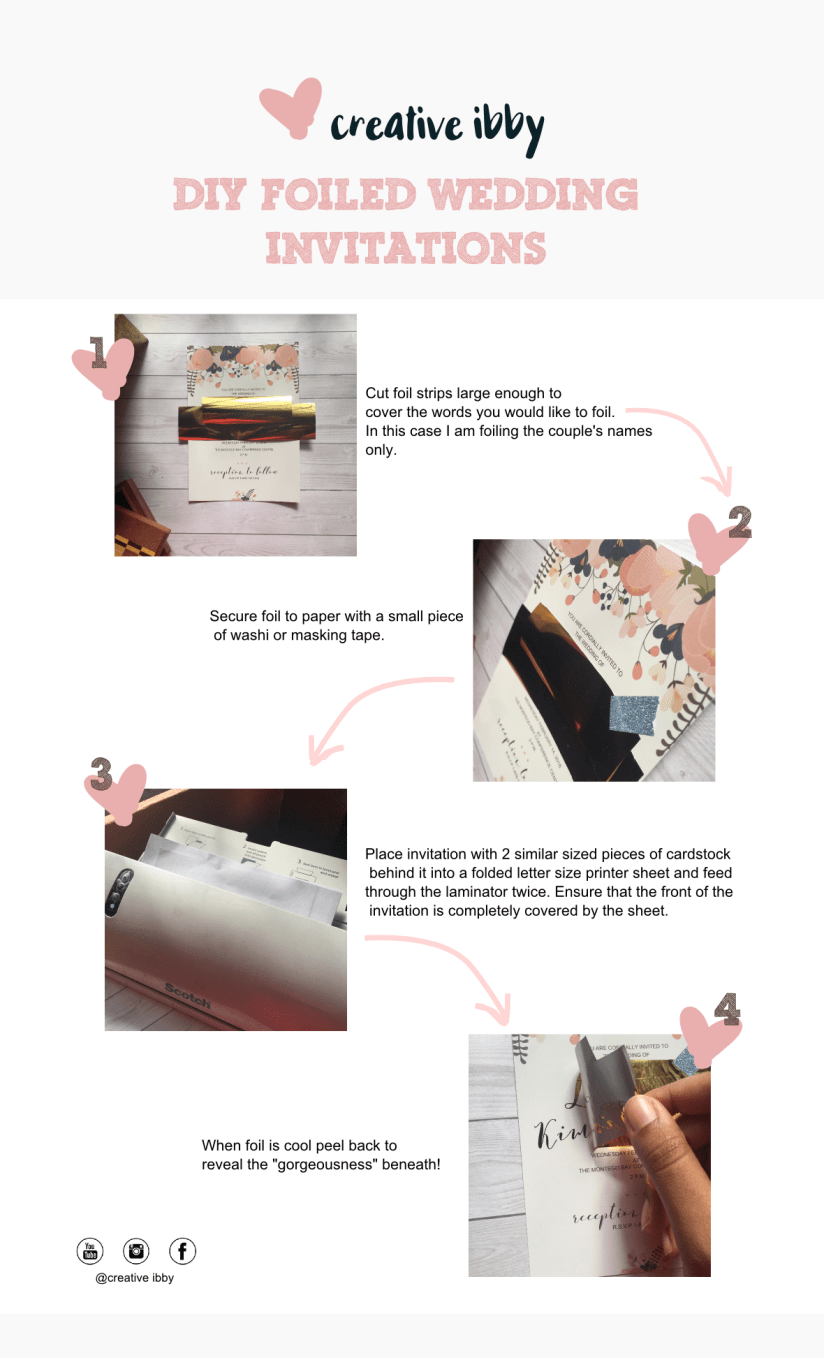
After you have printed and cut the invite to size (5 x 7 inches) you should follow the steps below to complete your project.
A few tips I picked up along the way:
![]()
The foil tends to adhere more cleanly when the invite is printed on paper that is glossy or coated. But you can use matte paper if you prefer the look.

I used my laminator at both settings 3mm and 5mm and experienced good results. If you use glossy paper try to use a lower heat setting as the ink may drag or stick excessively to the printer sheet. If you use matte paper use a higher heat setting.

Increasing the pressure on the paper assisted me in getting better results. Instead of running the invite through the laminator three times and at a higher temperature, I ran the project through once with 4 sheets of cardstock behind it and no printer paper over it and got a good result. I however chose to do it twice for the final project just to be on the safe side, since I had covered it with the printer paper.

The result is best when the area to be foiled is printed in black. If the foil does not adhere to all areas you can always run the project through the laminator once more to correct it.
I hope you enjoyed this project. Tag me in your image on Instagram or Facebook if you try it! Remember to leave a comment below letting me know if you would like posts on other methods of foiling. Thank you so much for visiting!
Happy Crafting!


