

The hardest part of making this card was getting the colour scheme right. Trust me, It took me almost an hour to decide on the the correct order for these colours. But, I did it…so you don’t have to!

Here is what you will need:
- Scissors
- Glue
- Coloured cardstock of your choice (mine was from DCWV glitzy glitter stack and Micheals)
- This Leather Bow Template
- Heavy weight cardstock for card base (110lb) (I recommend Cougar white cardstock from The Paper Place if you are in Jamaica)
- Letter sticker, small greeting stamp or word sticker for greeting

Here are the instructions:
- Firstly, if you would like the bow to be smaller, simply copy and paste the image from the template into a blank word document, crop the image to include the 3 bow pieces only and resize to the length and width you want. Note that all 3 pieces must be in one image before resize.
- I actually used my Cricut Explore machine to cut my bows. If you have a Cricut, search the leather bow image in design sapece. Its FREE! Make it 4 inches wide and cut. Any other bow style will do if you have another cutting machine like a silhouette or a manual die cutter.
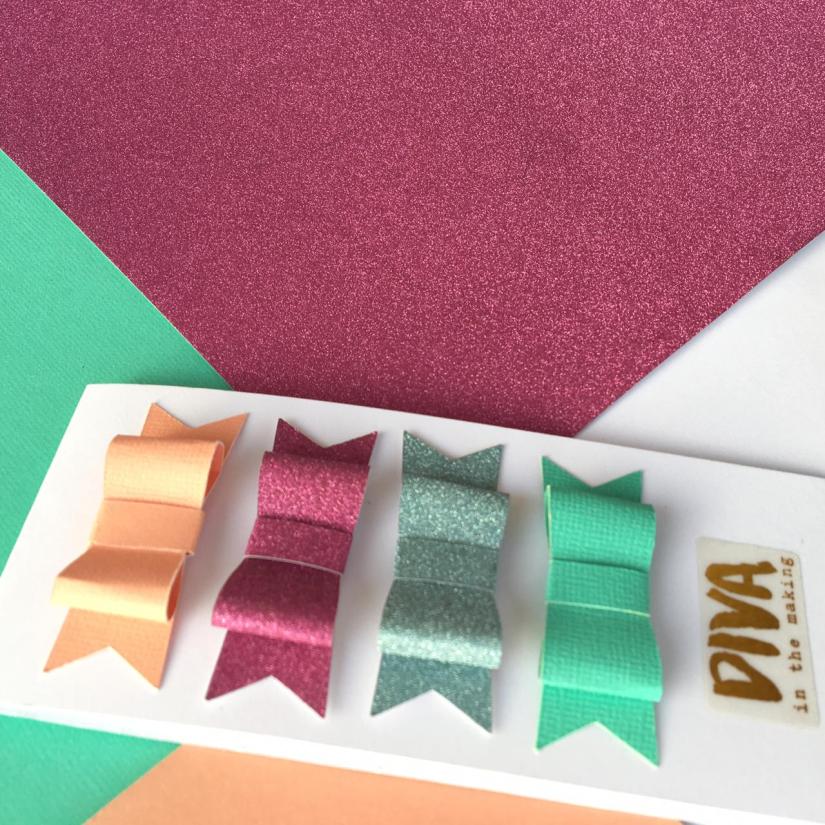
- Assemble bows. You can mix and match the colours here but i chose to keep all pieces with the same colour together.
- Create a 3.5 inches x 6 inches card base. The card base should be much longer than it is wide, so if you’d like to make a smaller or larger card, keep that in mind
- Adhere bows in a vertical line in center of the base.
- Stamp or sticker a greeting below the last bow
Thats it!
Who knew card making could be this simple?
Share this fun card with all your friends and tag me in your creations @creativeibby on Instagram.
Happy Crafting!
Love,
CreativeIbby
