

This card reminds me of a pinata. If you’d like to make a pinata card and have tons of paper scraps from your many crafting expeditions lying around. This is the card for you. Its a quick and easy way to make a card with little to no hassle. That’s besides the fact that they are gorgeous, fun and just… showstopping. They are so versatile. You can leave the fringes flat to add subtle dimension or lift them up to get the party started! Switch up the colour scheme or add glitter paper for added dimension and to fit any occasion.

Here are the things you need:
- Scissors
- Coloured Cardstock strips
- Heavy weight cardstock for card base (110lb) (I recommend Cougar white cardstock from The Paper Place if you are in Jamaica)
- Glue
Here are the instructions:
- Cut strips of cardstock (any colour of your choice) all at 1.5 inches tall. The strips should be a little longer than the width of your card. I made a card that was 4.25 inches wide and cut my strips at 5 inches.
- With a pair of scissors, cut slits of approximately 1/16th of an inch along the entire strip. You can estimate. no need to measure 1/16th of an inch. Ensure that you leave a 0.5 inch allowance at the top of the slits so they don’t fall off completely.
- Starting at the bottom of your card glue your first fringe piece 1.5 inches from the bottom of the card so the fringes cover all the white space below it. Please note, you are only applying adhesive to the 0.5 inch allowance you left intact. No glue should go on cut fringes.
- Glue the top of the next fringe strip 0.5 inches above the top of the first
- Continue until the front of your card is completely covered, or as in my second card , half of the card is covered.
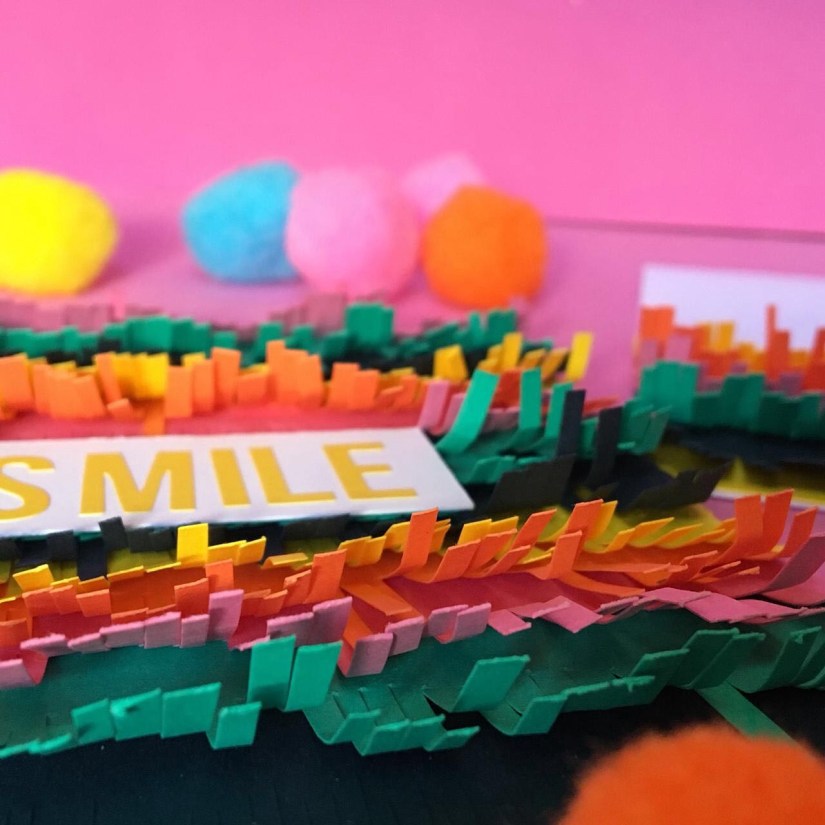
- Cut a small rectangular piece. The length depends on your sentiment and the height depends on the height of your letter sticker.
- Adhere your letter stickers with the sentiment of your choice to the white cardstock.
- Add a small piece of foam tape or foam to the back of the sentiment cardstock and glue to the center of the card.
Share this fun card with all your friends and tag me in your creations @creativeibby on Instagram.
Happy Crafting!
Love,
CreativeIbby
