

Hello lovelies,
Today’s card is one I have been dying to make. I follow tons of paper artists on Instagram and have seen this type of art all over my timeline. It reminds me of rock formations and geodes and canyons. I am enthralled by how simple to make yet beautiful this type of art is. Lets get started!
Here is what you will need:
- Foam Tape
- Coloured cardstock
- exacto knife/blade for paper cutting
- vellum
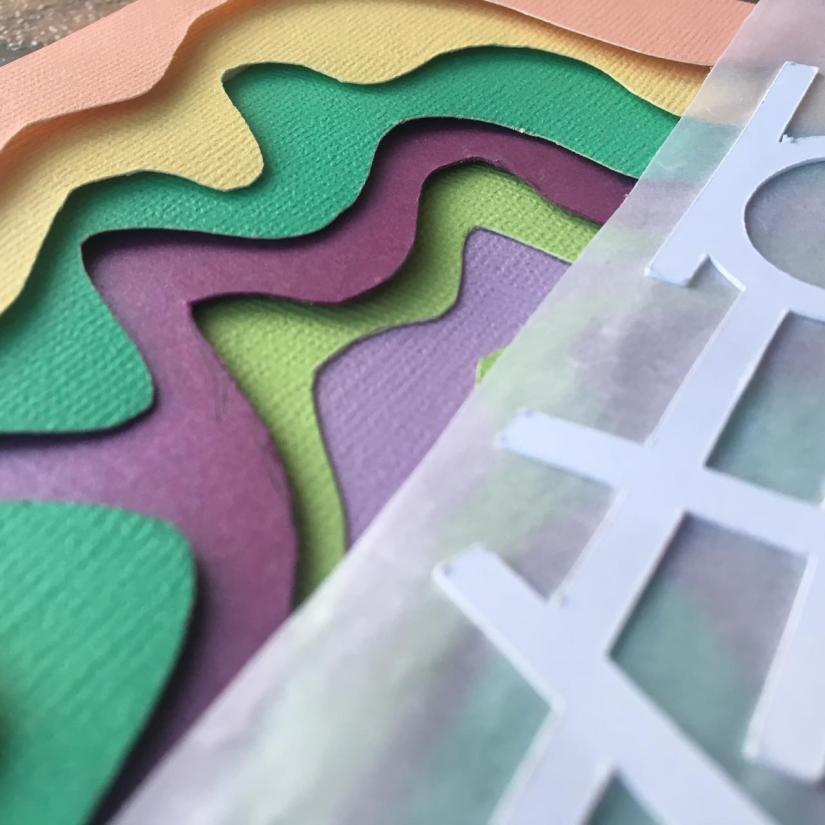
- die cut greeting/ word or letter stickers
Here are the instructions:
- Cut five 6×6 inch squares of cardstock. Each in a different colour.
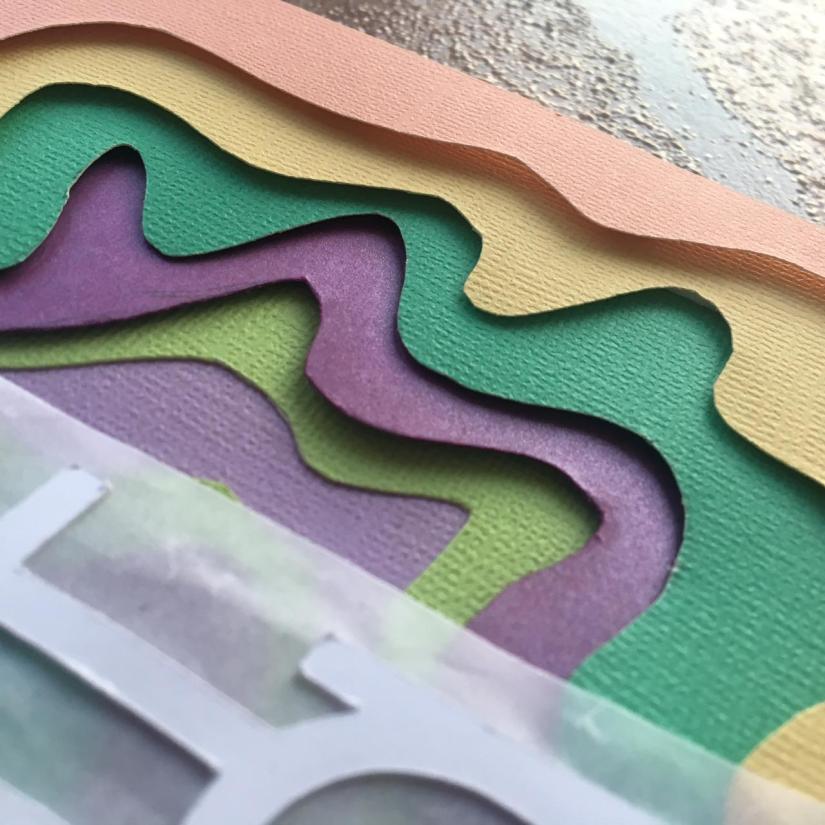
- On the piece of cardstock that you would like to be the top layer, draw a circular shape with waves and troughs.
- Cut out this shape with an Exacto knife or blade. Ensure the outer border is not cut. You must simply cut the shape out of the center of the paper.
- Place the shap you have just cut on top of the next coloured cardstock in the series and trace a similar shape which is approximately 0.5 inches smaller than the shape on top of it.
- Cut the smaller shape from your second sheet and use this sheet as a template to draw an even smaller shape on the third sheet.
- Use the third sheet for the fourth and the fourth sheet for the fifth
- The sixth sheet will remain intact
- Add foam tape to the back of all the pieces that have been cut
- Stack and adhere from smallest to largest cut opening so that all openings can be seen.
- Glue the stacked piece to the sixth piece of cardstock that has not been cut
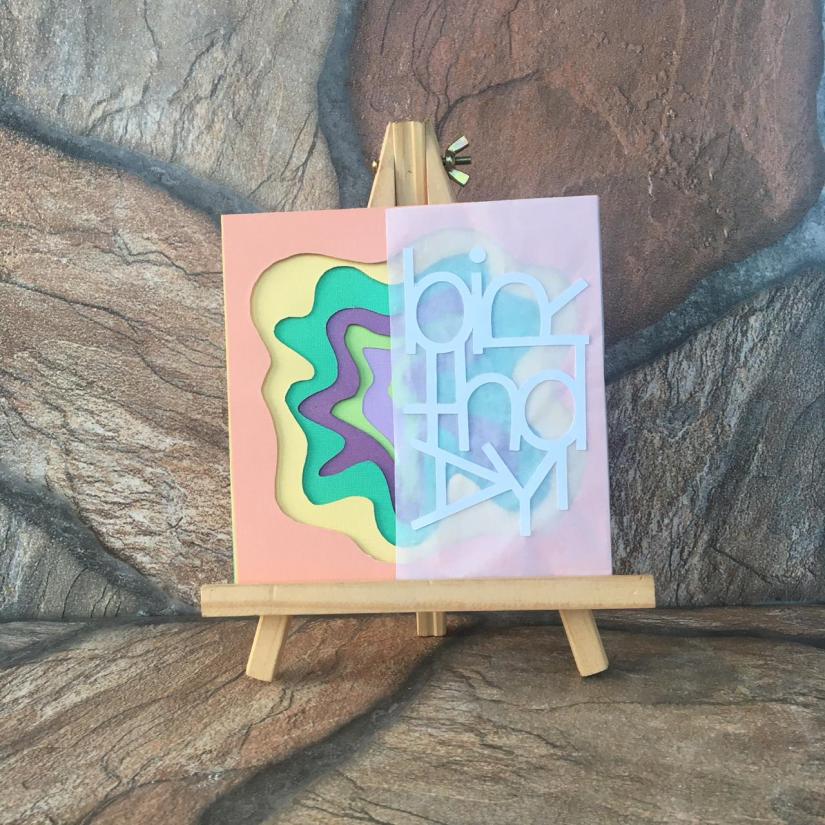
- Add your greeting to a 6 x 5 inch piece of vellum and adhere the vellum to the card by folding it over the side and gluing it at the back of the stacked piece.
- Adhere finished piece to a 6 x 6 card base and you have a masterpiece on your hands.
I do hope you give this card a try. If you do, i would love for you to share it with me by tagging me @creativeibby on Instagram or Facebook.
Comment below what colour scheme you would love to use for this card and till I see you again, Happy Crafting!
Love
Creativeibby
