

Hello Lovelies,
A huge trend in the art world right now is acrylic pour painting. When I venture to my discover page on Instagram my eyes are dazzled by the entwined trails of colour flowing across a canvas. The resulting art is so intricate and dazzling, one would never believe it was this easy to do.
Today we are stepping into the world of acrylic pouring. Before we begin, Don’t forget to follow me on Instagram to see more cards and for interesting card making tips. If you already follow me, go like my last post! Thank you lovely!
Here is what you will need:
- Acrylic paints and water
- isopropyl alcohol
- Thick Watercolor paper or canvas paper
- White cardstock
- black cardstock
- glitter cardstock in 3 colours that match your colour scheme. I used teal, lavender and white.
- Thread
- Word Stamp or printed words
- Die cut word or letter stickers
- Foam tape
Here are the instructions:
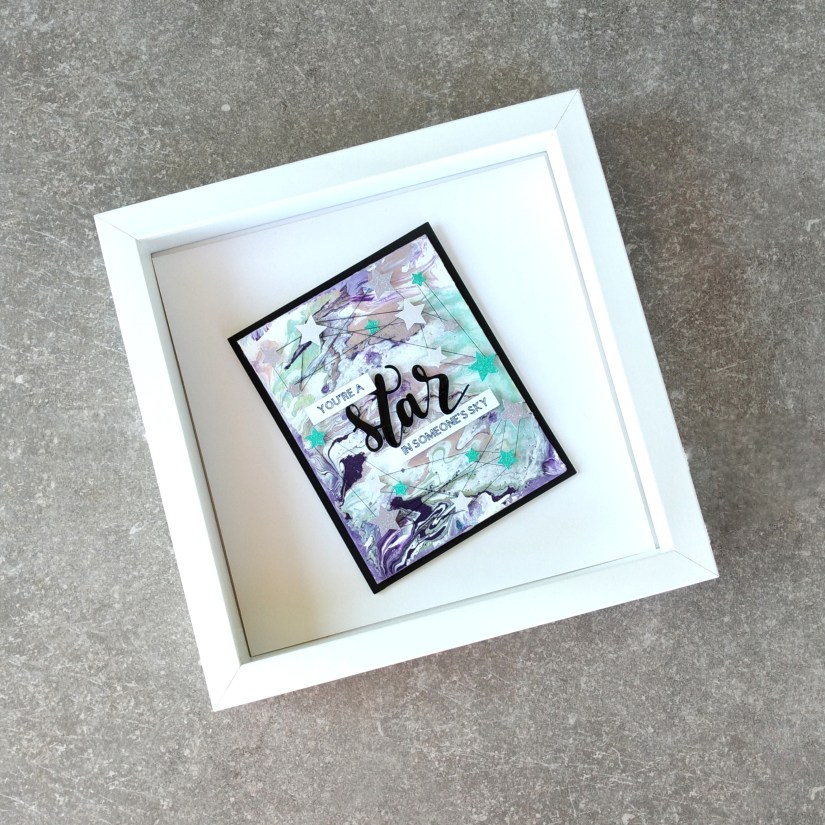
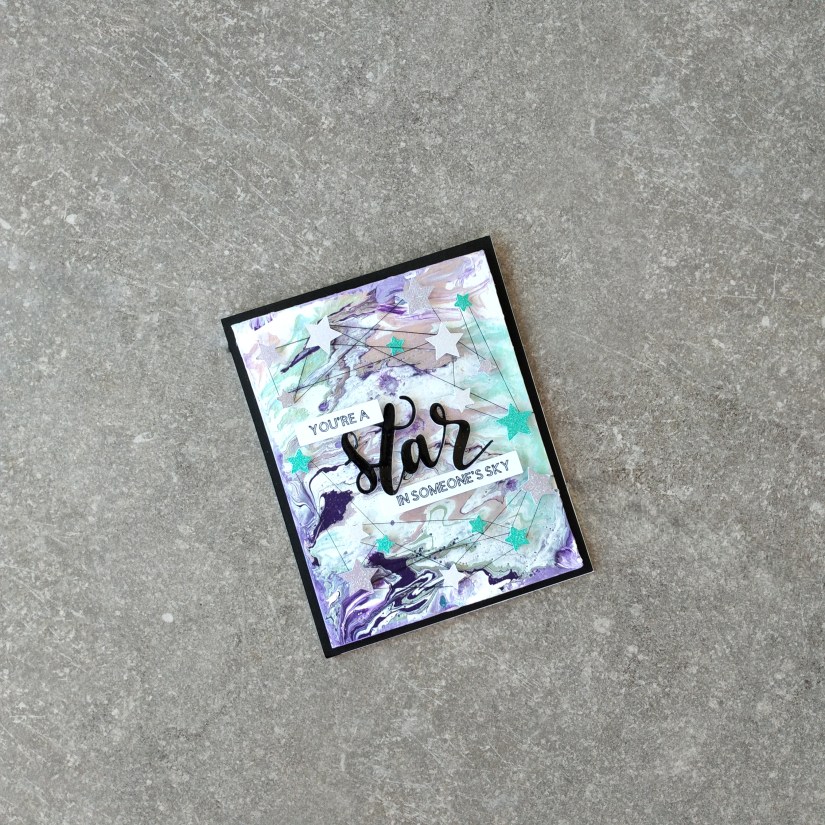
- Cut canvas or watercolor paper to the size that your card front will be. Mine is 4.5 by 5.75 inches.
- Mix acrylic paints in small plastic cups in a ratio of 1/5 paint to a few drops of water. Add Water a little at a time until your mixture is still opaque, sticks to your mixing wand and flows from your wand in a steady stream when it is lifted out of the mixture. Add two drops of alcohol. Here is a video that shows you what the consistency should be like Click here to see the right paint consistency
- You’re ready to pour! Elevate paper off of your work surface by placing a roll of tape under it. Ensure you protect your work area as paint will be dripping from the paper.
- Pour each paint as desired in lines on your paper and rotate paper allowing paints to flow and merge with each other. Continue to add colours in different areas until you like what you see.
- Leave painting to dry indoors.
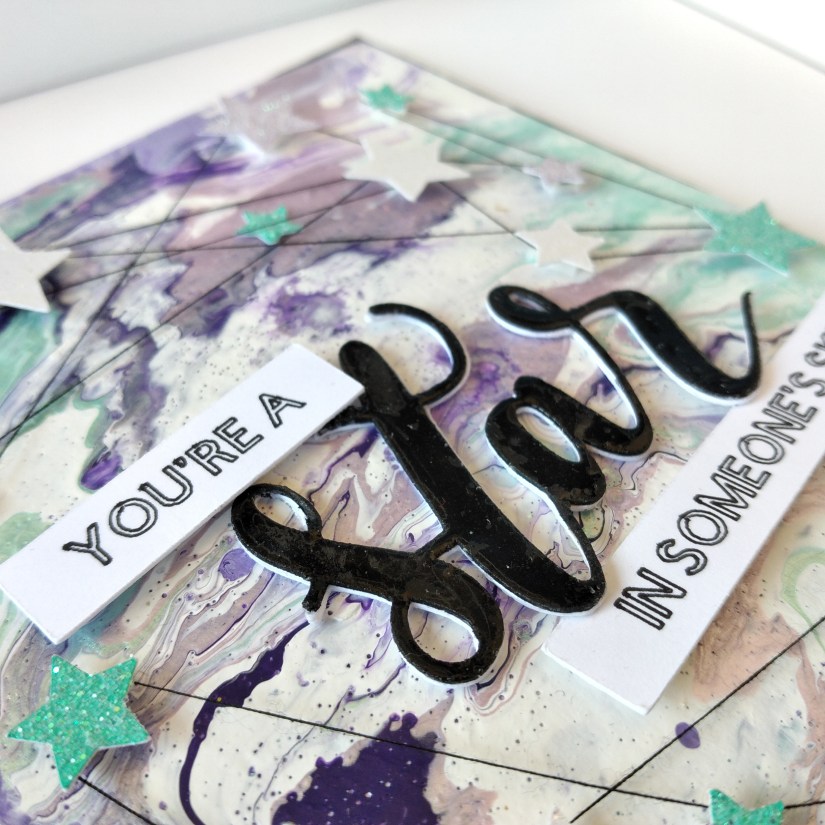
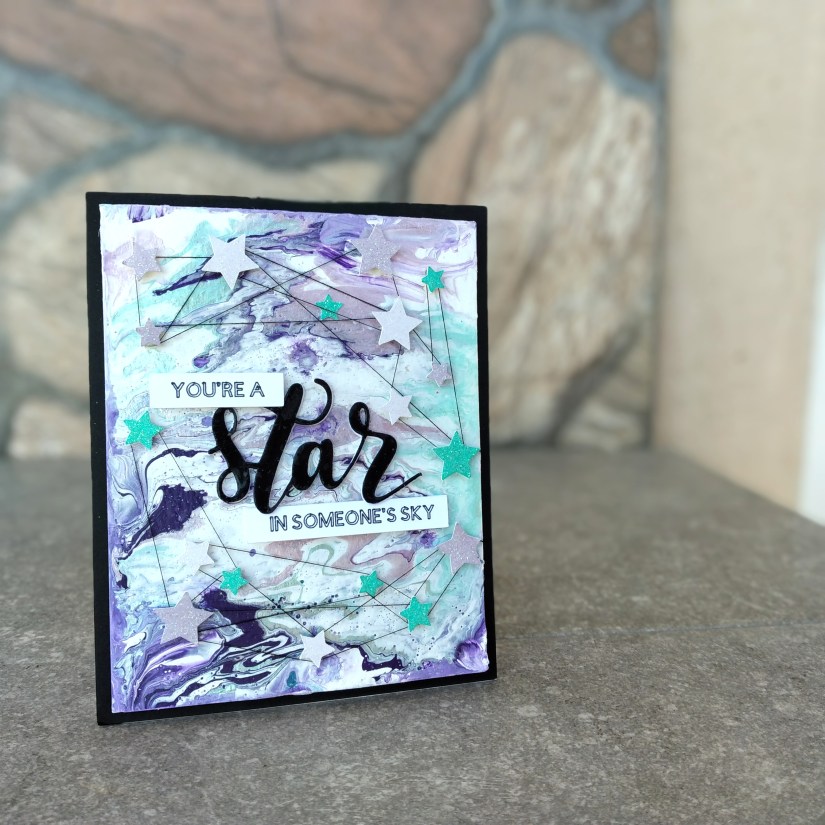
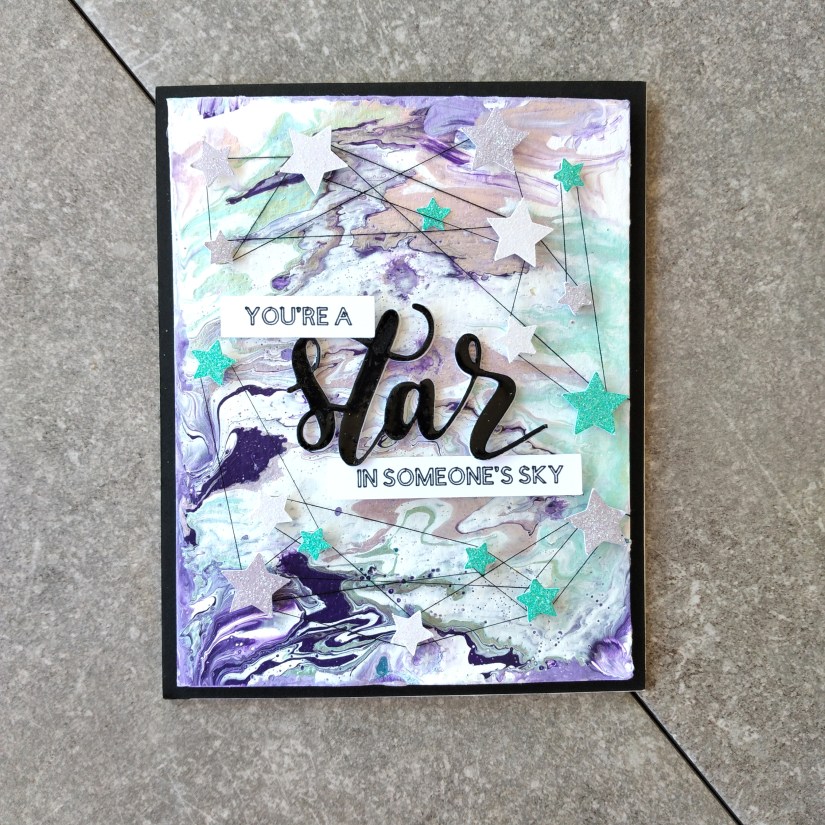
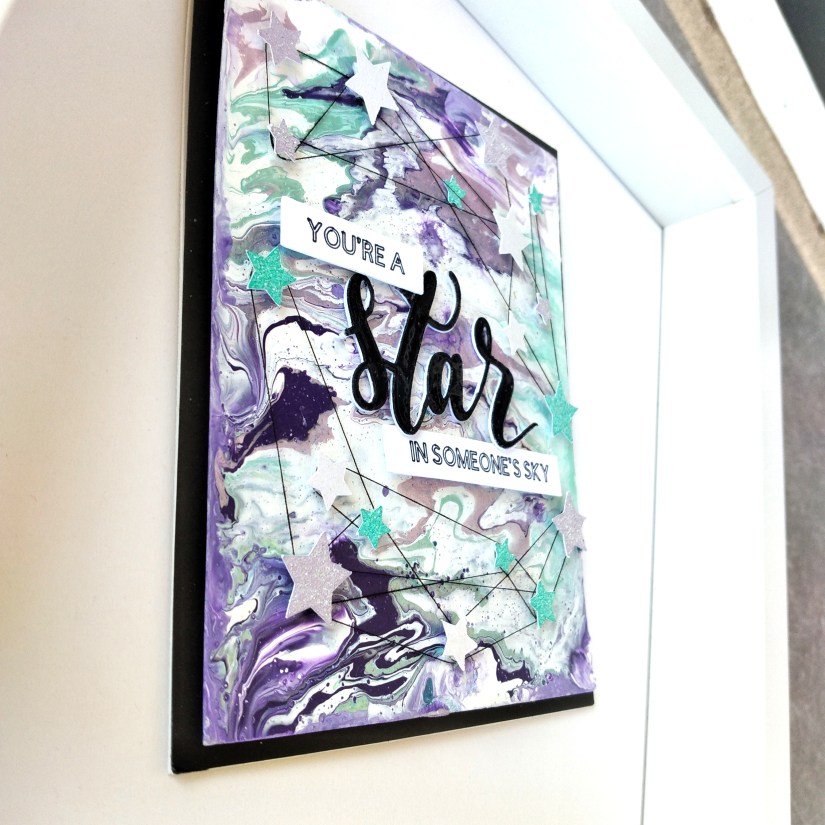
- Place die cut sentiments in the centre of the card mounted on foam tape. If you do not have a die cut sentiment you can create your sentiment in word and print and fussy cut your sentiment or use letter stickers. I die cut my sentiment from black cardstock but i also embossed with black embossing powder for some shine,
- Cut stars of 3 different sizes from glitter papers. Mount stars on small foam tape squares and place on painted background in a manner that mimics a night sky. Leave 2 of the largest stars for the next step.
- Cut a long (24 inches) piece of thread and use one of the stars above to adhere the end of the thread to the front of the card at the bottom left. Do this by placing the end of the thread underneath the star right before sticking it to the front of the card.
- Now that the thread is secured, string it from one star to another to form lines and geometric shapes. Wrap the thread around each star as you go from star to star to make sure it is secure.
- When you have finished with your shape bring the excess thread to the back of the background and tape it down with clear tape to ensure your thread does not unravel.
- Do step 8 and 10 at the top of the background above the sentiment as well
- Now that you have finished decorating, add foam tape to the back of the painted panel and mount it on a black cardstock cardbase that is 1/4 of an inch larger than your painted panel. This will make sure you have a nice black border around your painted masterpiece.
- Your card is completed!
Thank you for stopping by. I hope you try this project. If you do, email to me at creativeibby@gmail.com
Also don’t forget to check out my Instagram page @creativeibby to see what card I will be making in the next tutorial.

Happy Crafting !
Love,
Creativeibby
