

Hello lovelies,
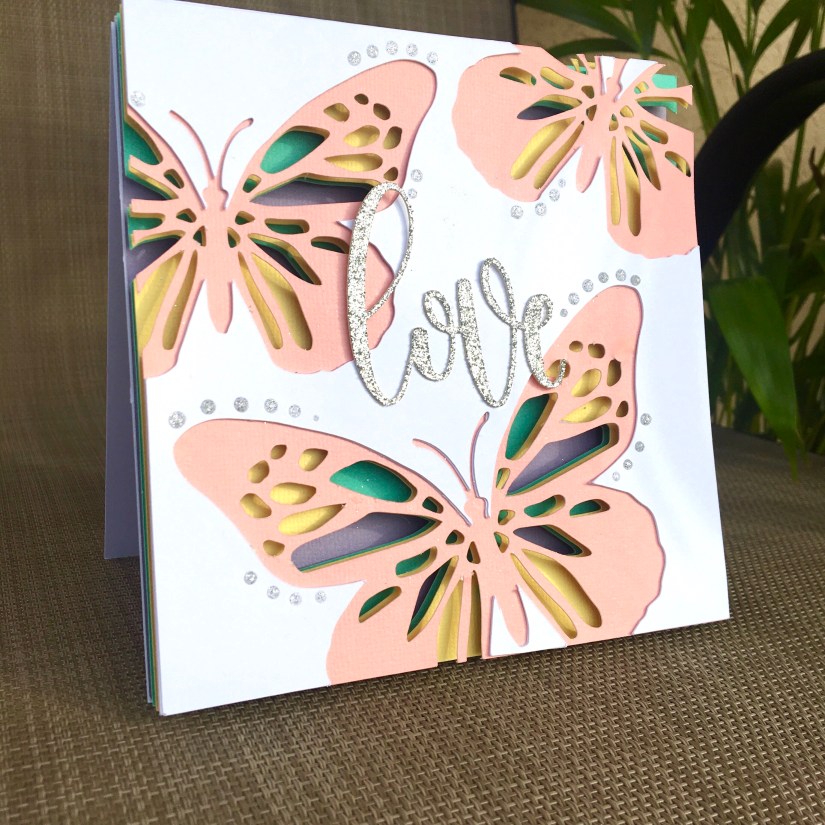
Today I am sharing a beautiful butterfly paper background and I’m so excited that I am able to share it with you in Cricut Design Space so that you can make it too!
I am a huge fan of layered paper creations and used this technique in a couple cards on my Instagram like this one and this and in this blog post here .
Today’s card is another in the installment featuring one of my favorite graphics, butterflies!

Here is what you will need:
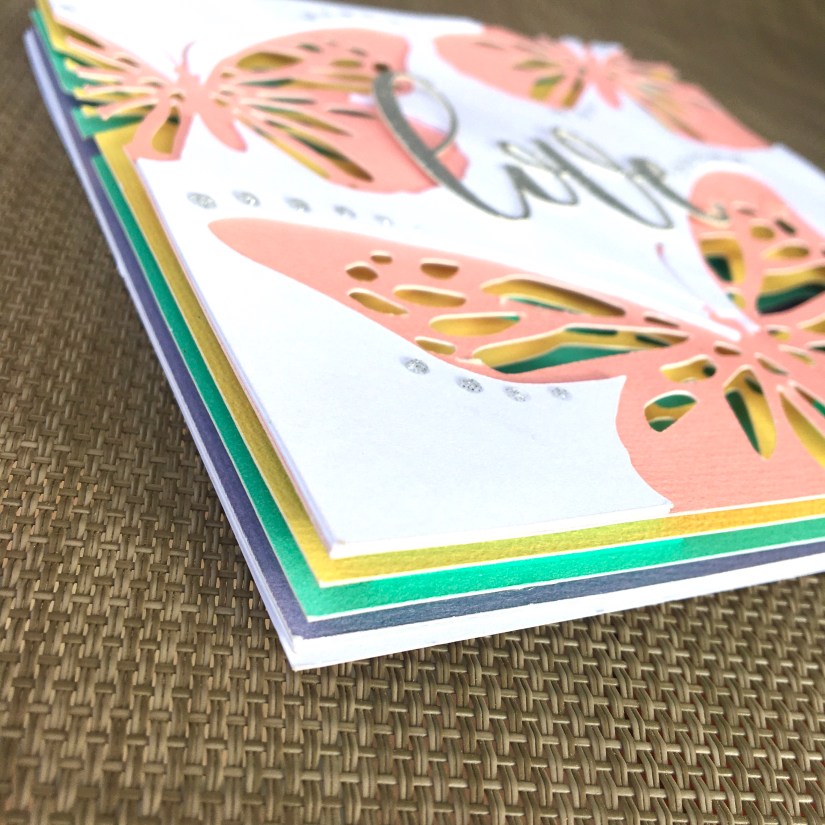
- Peach, yellow, teal, lavender, white cardstock
- silver glitter cardstock
- Foam tape
- Cricut Explore/Maker/Joy
- Nuvo crystal drops glitter drops – silver moondust
Here are the instructions:
- Create a card base by cutting a letter size sheet of white cardstock to 5.5 x 11 inches and folding in half.
- Go to this link
- Cut cardstock and sentiment based on colours shown in design space or choose colours of your own. It helps to number cardstock pieces with a pencil on the back to help to remember the order of the layers
- Turn cut pieces right side down and apply foam tape to areas that are uncut. Do this to all colours except white and lavender, that is the first and last layer
- Align and adhere layers in the correct order using regular adhesive for white and lavender and attached foam tape for other layers.
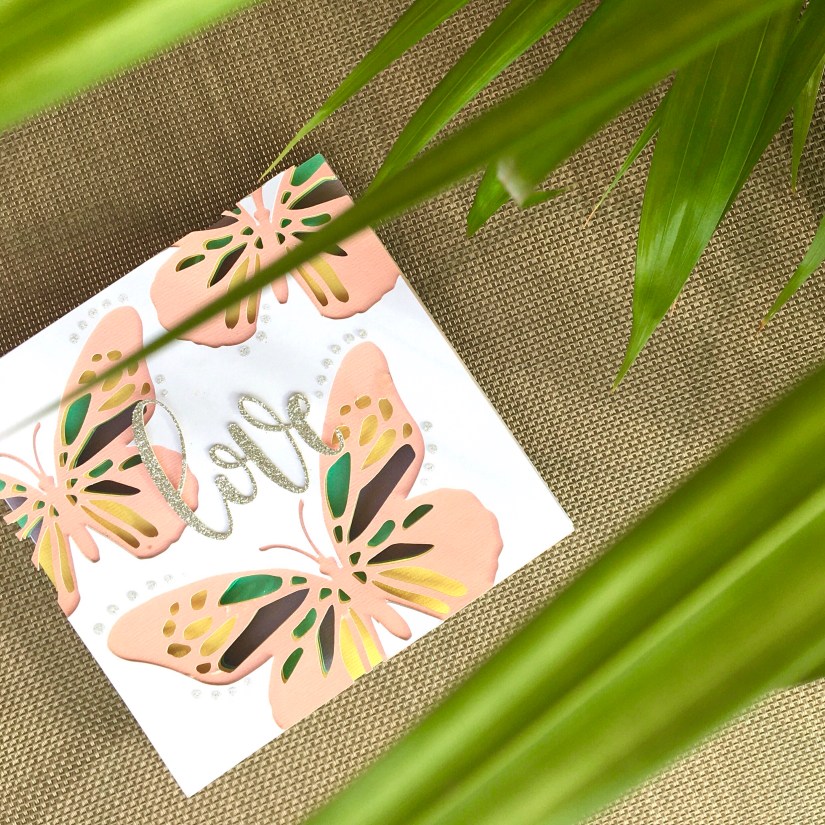
- Adhere greeting using glue
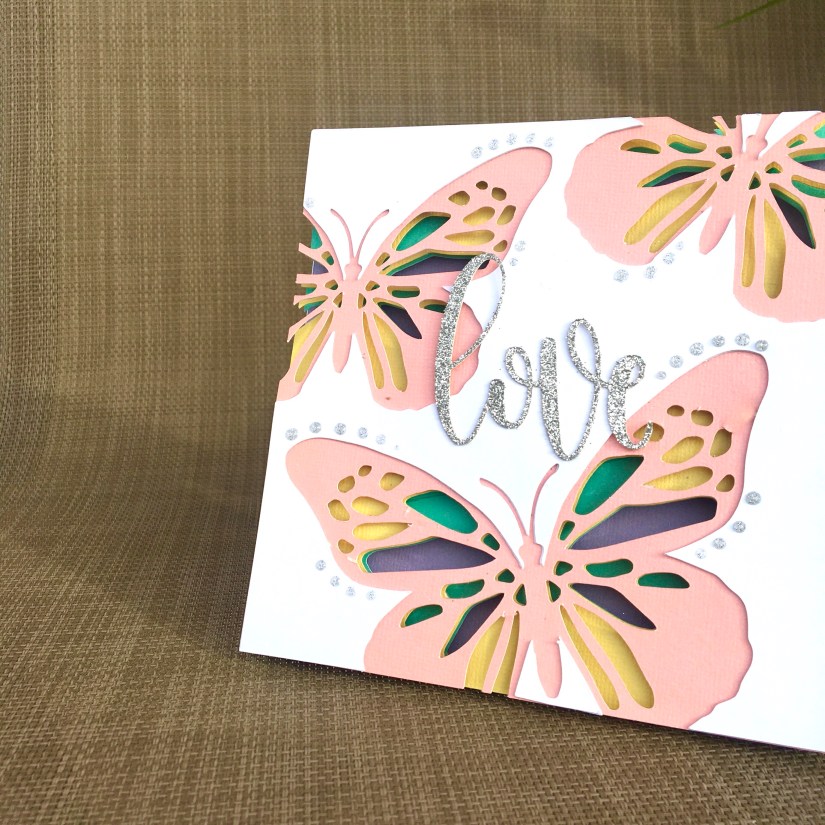
- Use Nuvo drops to add decorative dots around butterfly wings and allow to dry.
- Your card is complete!
PS. I added some butterflies to the cut file that I wanted to use as vellum overlays but I had no vellum! So you can cut and add to the card if you so desire.
I would love to see your take on this versatile card. Make a change to the colour scheme, embellishments or greeting to see what you come up with. Tag me on Instagram @creativeibby if you use this background in your creations.
Don’t forget to check out my Instagram page @creativeibby to see what card I will be making in the next tutorial.
Happy Crafting !
Love,
Creativeibby
