

Hello lovelies,
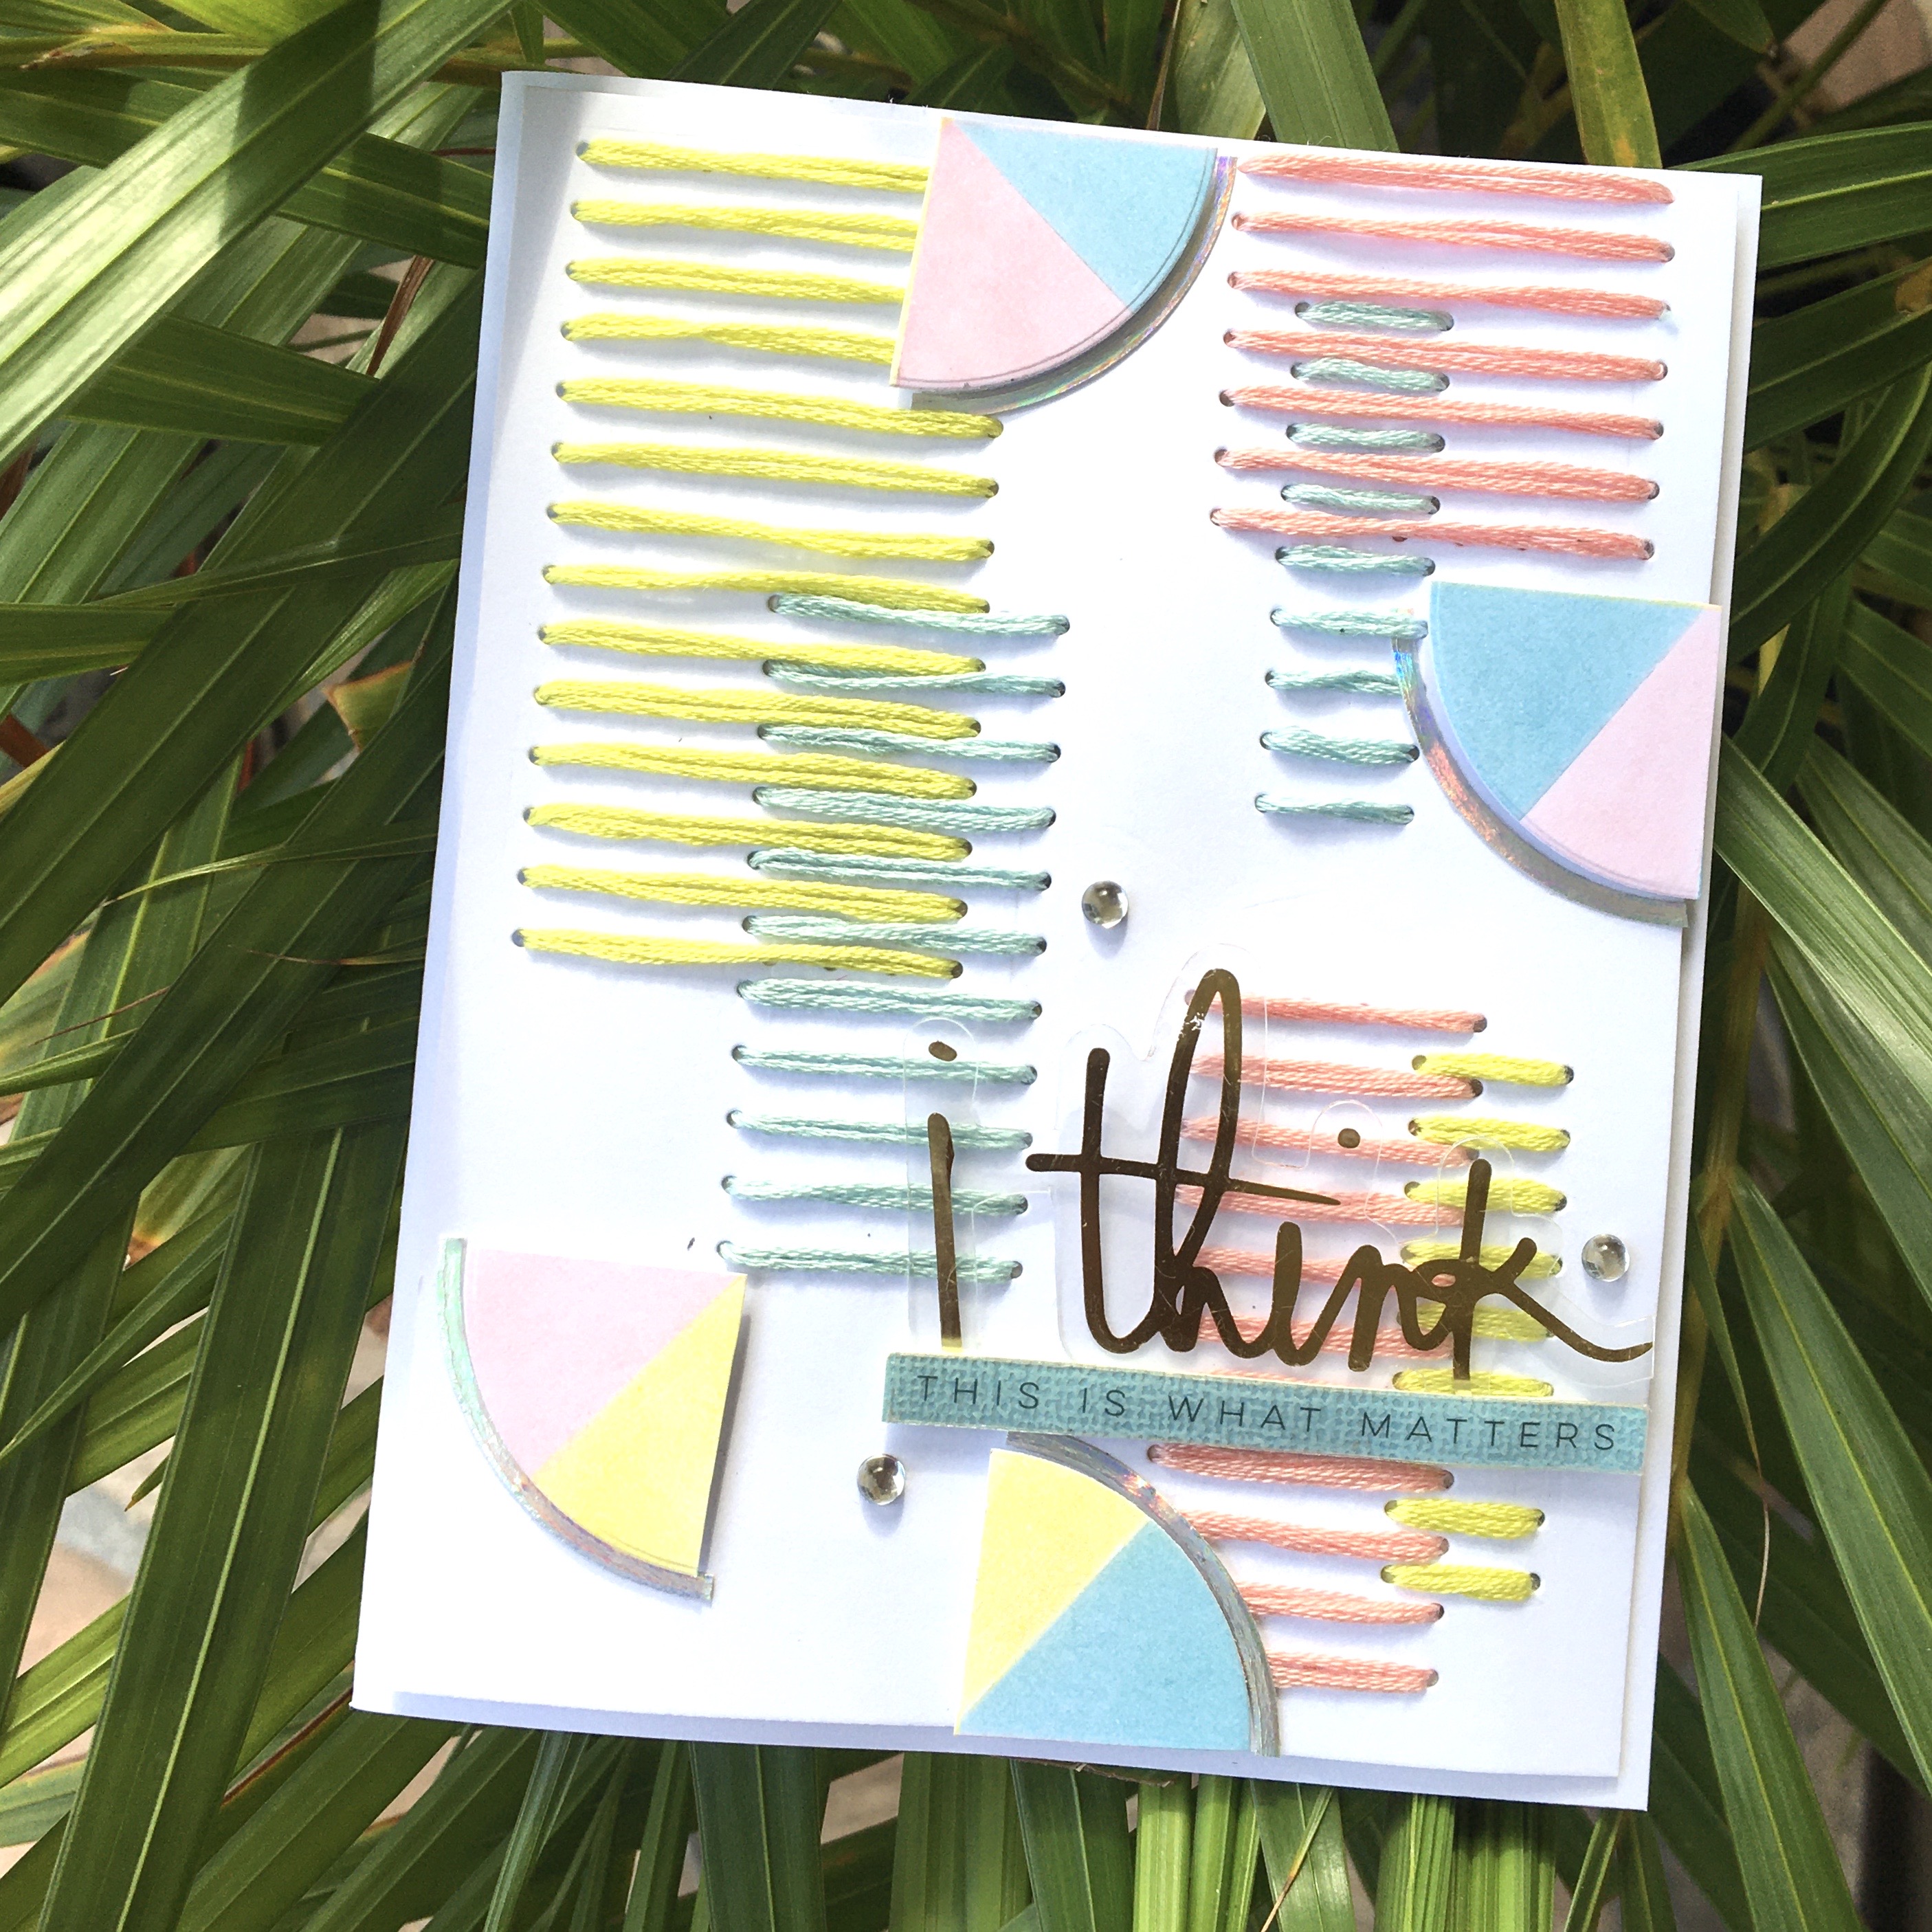
Welcome Back to my blog. Today I’m sharing this fun card with you that incorporates stitching, masking, and “ink blending”. This is the die set I used along with this one for the circles. For the stitched background I used the 1st second and third smallest stitched rectangle dies and cut them from white 110lb cardstock that was 4.25×5.5 inches in size.
For the first cut,
I placed the largest die at the top left corner 3/16 inches from the edge. The medium die was placed in the bottom right corner at 11/16 inches from the right edge and 1/4 inch from the bottom edge. The smallest die was placed 1 inch from the top right edge and 1/2 inch from the top edge.
For the second cut
When aligning the dies a second time, ensure that the holes are BETWEEN the holes of the first cut, not in line with them.
I placed the medium die approximately 1 inch from the left edge and 1.75 inches from the top left edge. The smallest die was placed 3/8 inches from the right edge and 5/8 inches from the bottom right edge. The largest die was placed at the top right edge at 0.25 inches from the edge with half the die hanging off the paper at the top edge.
Stitch each rectangle with a color of your choice. I used DMC threads, all 6 strands.

Cut a circle from white cardstock and from holographic cardstock using the 2.5 inch circle die from essential shapes. I used the holographic cardstock from Erin Lee Creative.
Now it’s time for masking and ink blending. I used stencil creams but you can use your regular dye inks in matching colors to the thread. We will be dividing the circle into 8 parts and inkblending them.
So I used tape to mask off the circle leaving a triangle shape that is about 1/8 of the circle exposed with the point facing the center of the circle. I added one color and allowed it to dry. Then I moved the masking tape and placed it right over the edge of the last color to ensure I do not have any space between each triangle when I blend. I mask off the other side of the triangle and then add the second color. Repeat and add the 3rd color. Repeat these steps until the entire circle is filled
Cut the circle in halves and then quarters to get 4 pieces. Do the same for the holographic circle frame.

Add foam tape to the back of the circle and arrange on the card as shown. Add the holographic pieces along the edge of the circle pieces by gluing them to the card front.
Add a sentiment and gems. And add the card front to a card base that is a quarter inch wider than it is.
Your card is complete!
Thanks for stopping by.
Happy Crafting,
Aheba
