

Hello lovelies,
Welcome back to my blog. This is the second installment in the series of quick and easy ways to add thread to cards. Emphasis on the QUICK and EASY. I must admit, adding thread to cards can be very time consuming for some designs. However, the cards in this series will change that. Hopefully they will inspire you to think of thread not just as an accent but as a way of adding color just like markers or watercolors.

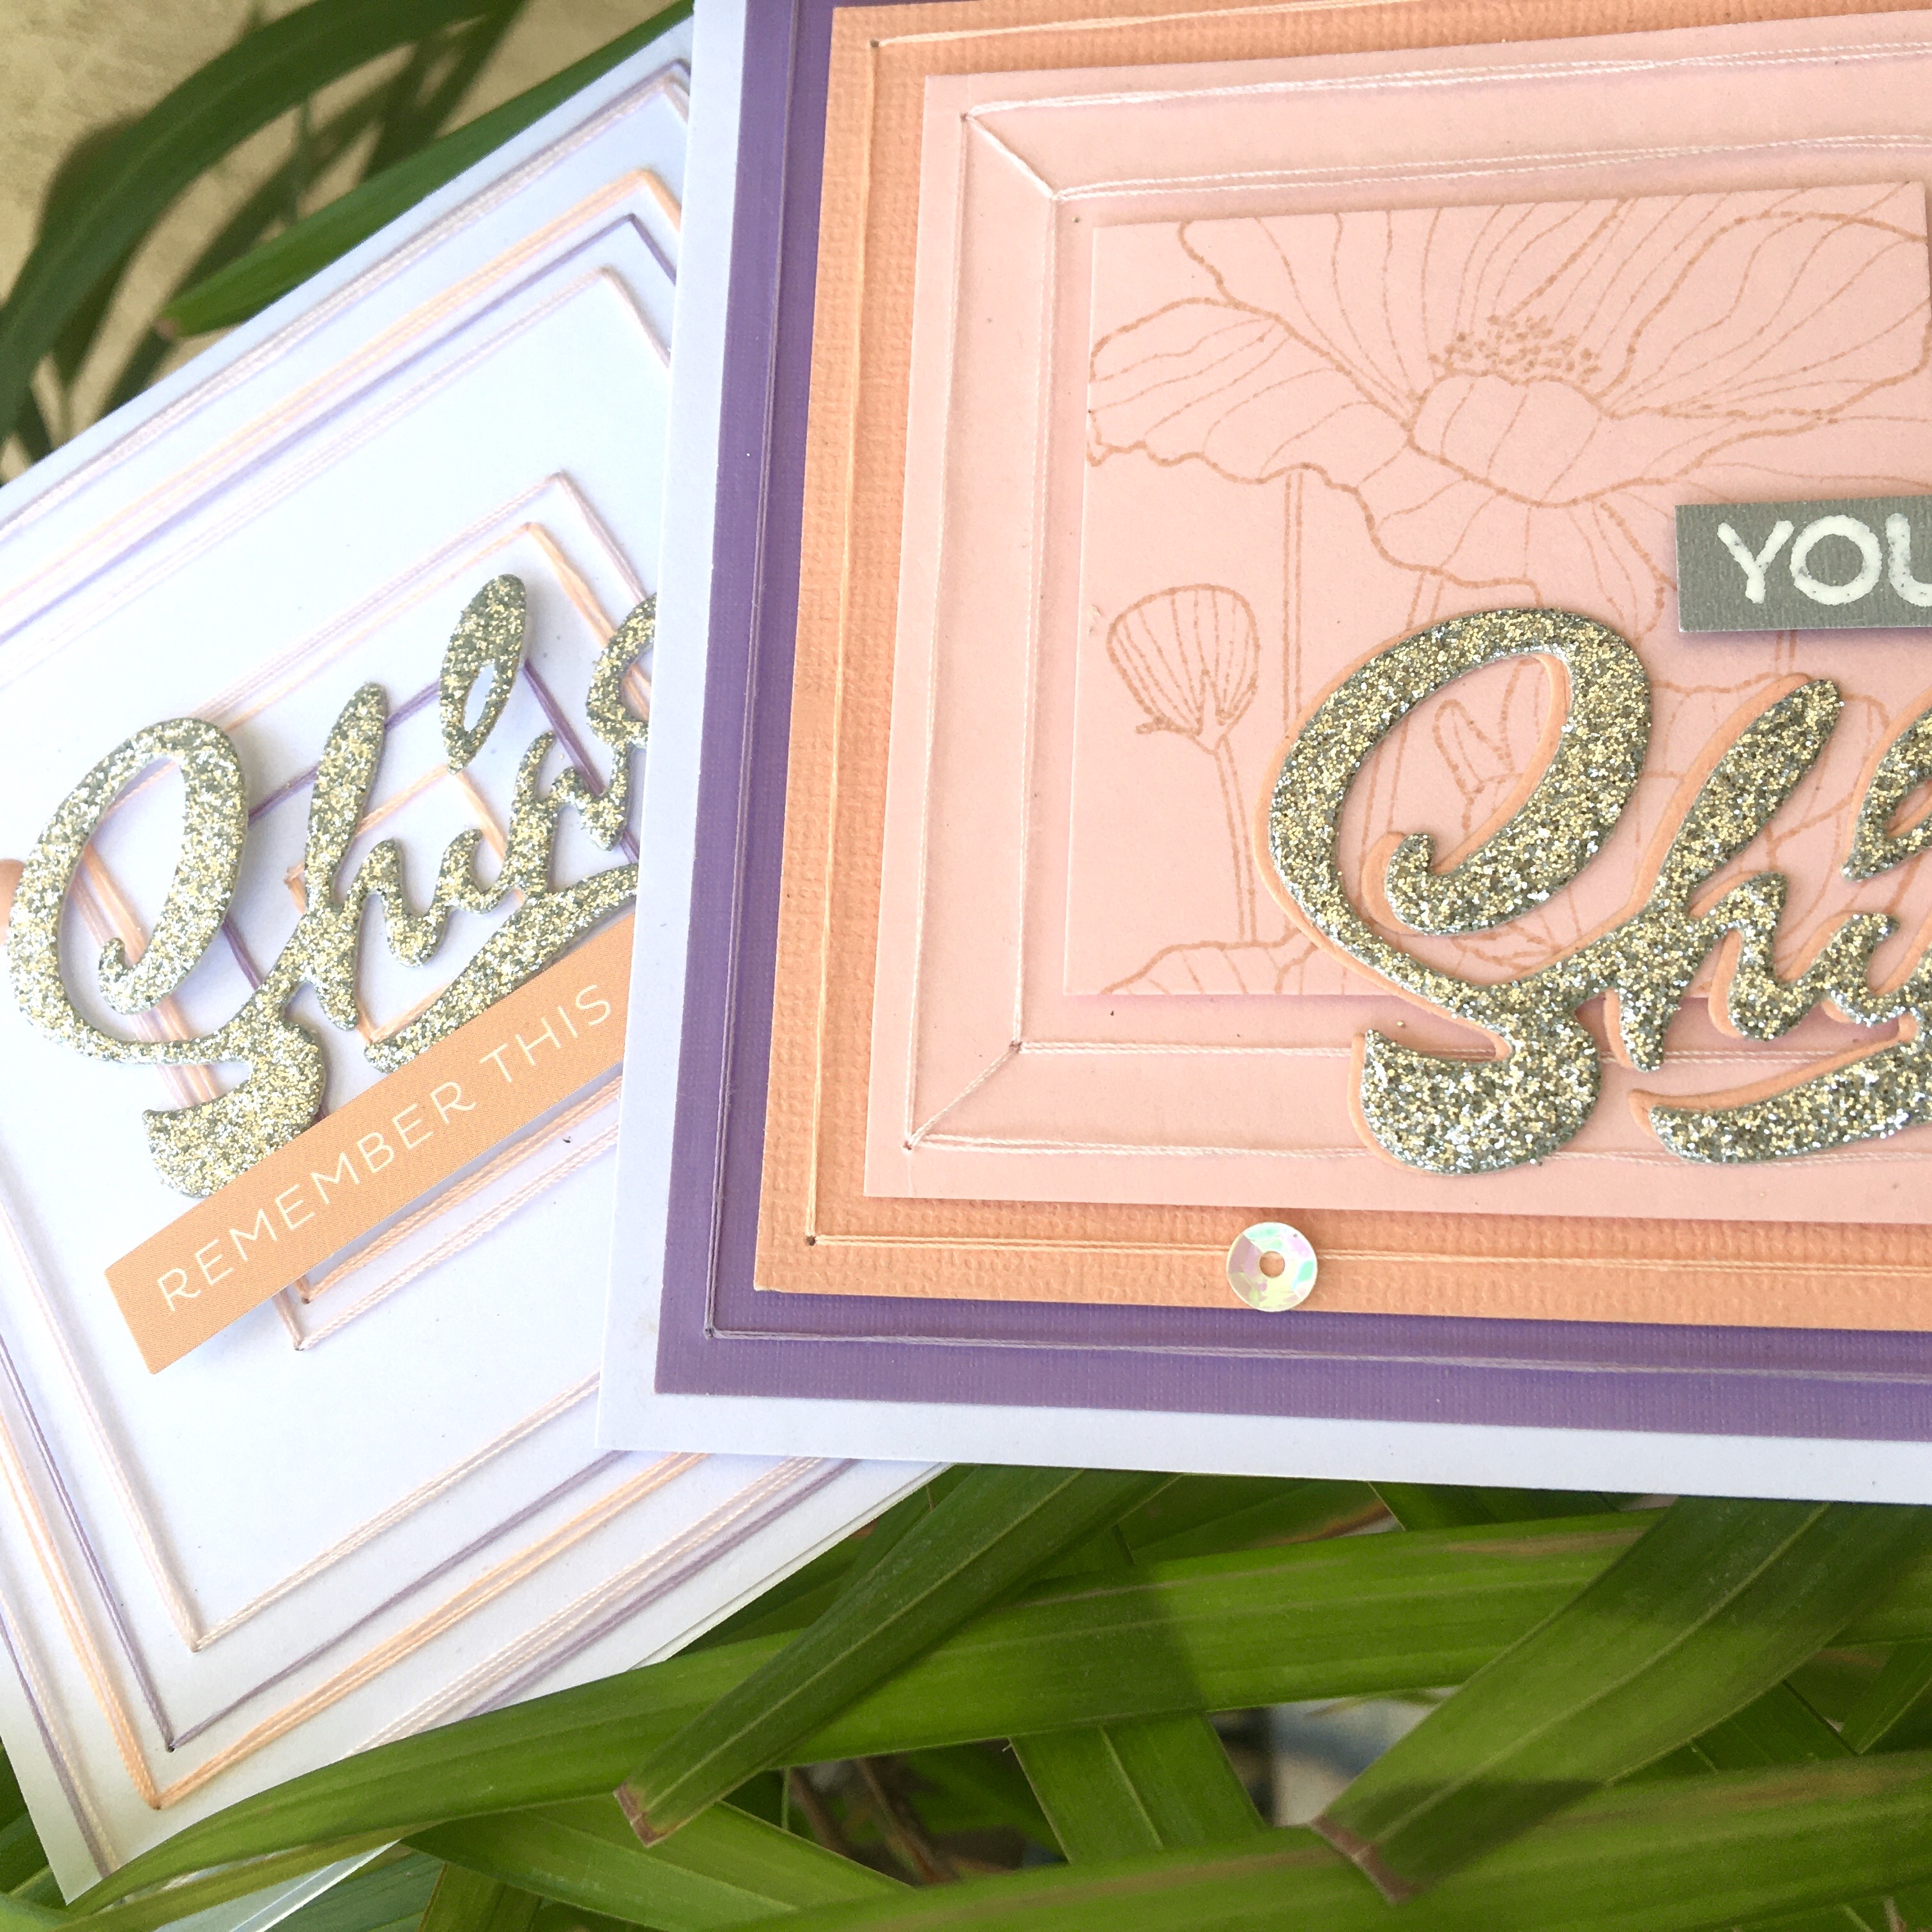
Today’s cards showcase thread being used to add color in a graphic way. Adding simple shapes such as squares, rectangles and triangles to your card in a repeating pattern makes a quick and interesting background. You can make these backgrounds as bold or as subtle as you would like by varying the thickness or spacing of the thread. There are so many possibilities when using thread to colour.

Here is what you will need:
- foam tape
- white cardstock
- silver glitter cardstock
- colored cardstock (lavender, peach, light pink)
- needle and three threads (lavender, peach, light pink)
- Shine Die from Erin Lee Creative
- Essentials by Ellen Square Stitching Dies
- Hero Arts Delicate Blossoms Stamp (out of stock, use any line floral)
- Simon Says Stamp Blush Ink
- craft pick

Here are the instructions:
- To begin, cut two 4.25 x 8.5 inch from white 110 lb cardstock. Fold in half to make your card bases.
- Cut 2 x 2 inch and 3 x 3 inch pieces of pink cardstock; 3.5 x 3.5 inch piece of peach cardstock and a 4 x 4 inch piece of purple cardstock
- Cut a 4.25 x 4.25 inch square from white cardstock
- On the white cardstock panel, use the largest square stitching die centrally as a guide to pierce four holes, one at each corner of the square with your craft pick.
- Continue step 4 with the next smallest die until you have used the smallest square die.
- An easier way to do steps 4 and 5 which I just thought of is to arrange all the dies at once on your cardstock panel. Tape them down and then punch all your holes as you would like.
- Thread your needle with lavender thread and connect the holes at each level to form squares. Stitch only 3 lavender squares, the largest, the smallest, and the middle square.
- Sew the remaining squares with alternating peach and pink thread to complete the design.
- Tape down all the thread at the back of the panel to ensure they are secure.
- Cut the Shine Die from Erin Lee Creative from silver glitter cardstock and add to the card front.
- Add sentiment strip on peach cardstock and peach enamel dots
- Check out the video at the end of this post to see these steps
- For the second card front, repeat step 4 only on the purple and peach pieces of cardstock.
- On the larger pink cardstock, punch 4 holes at each corner using the largest die and then 4 more using the die that is just smaller than the first. so you will end up with 2 holes at each corner.
- On the smaller pink cardstock, stamp the Hero Arts Delicate Blossoms Stamp or any line floral stamp in Simon Says Stamp Blush Ink.
- Connect the holes to form squares at each level on each piece of cardstock using thread that is the same color as the cardstock.
- Adhere the colored cardstock pieces from smallest to largest using foam tape.
- Cut the Shine die from Erin Lee Creative out of silver glitter cardstock and add to the card front with sequins and sentiment strip.
- Adhere the card fronts to the card bases.
- Your cards are complete!
Check out this YouTube video to see exactly how I made these cards.
Thank you so much for stopping by. If you have not as yet, please subscribe to my YouTube channel and follow me on Instagram to see more. See you next time.
Love
Creative Ibby
