

Hello lovelies,
Thank you so much for stopping by my blog today. I’m happy to share this technique with you as another installment in the series of quick and easy cards using thread. I wanted to do this series to show how thread can be used as the main means of adding color to your cards.
So far this technique is my favorite and I must admit I got a bit carried away and made much more than one card. I hope you enjoy this method. Comment below! I would love to know which card is your favorite.
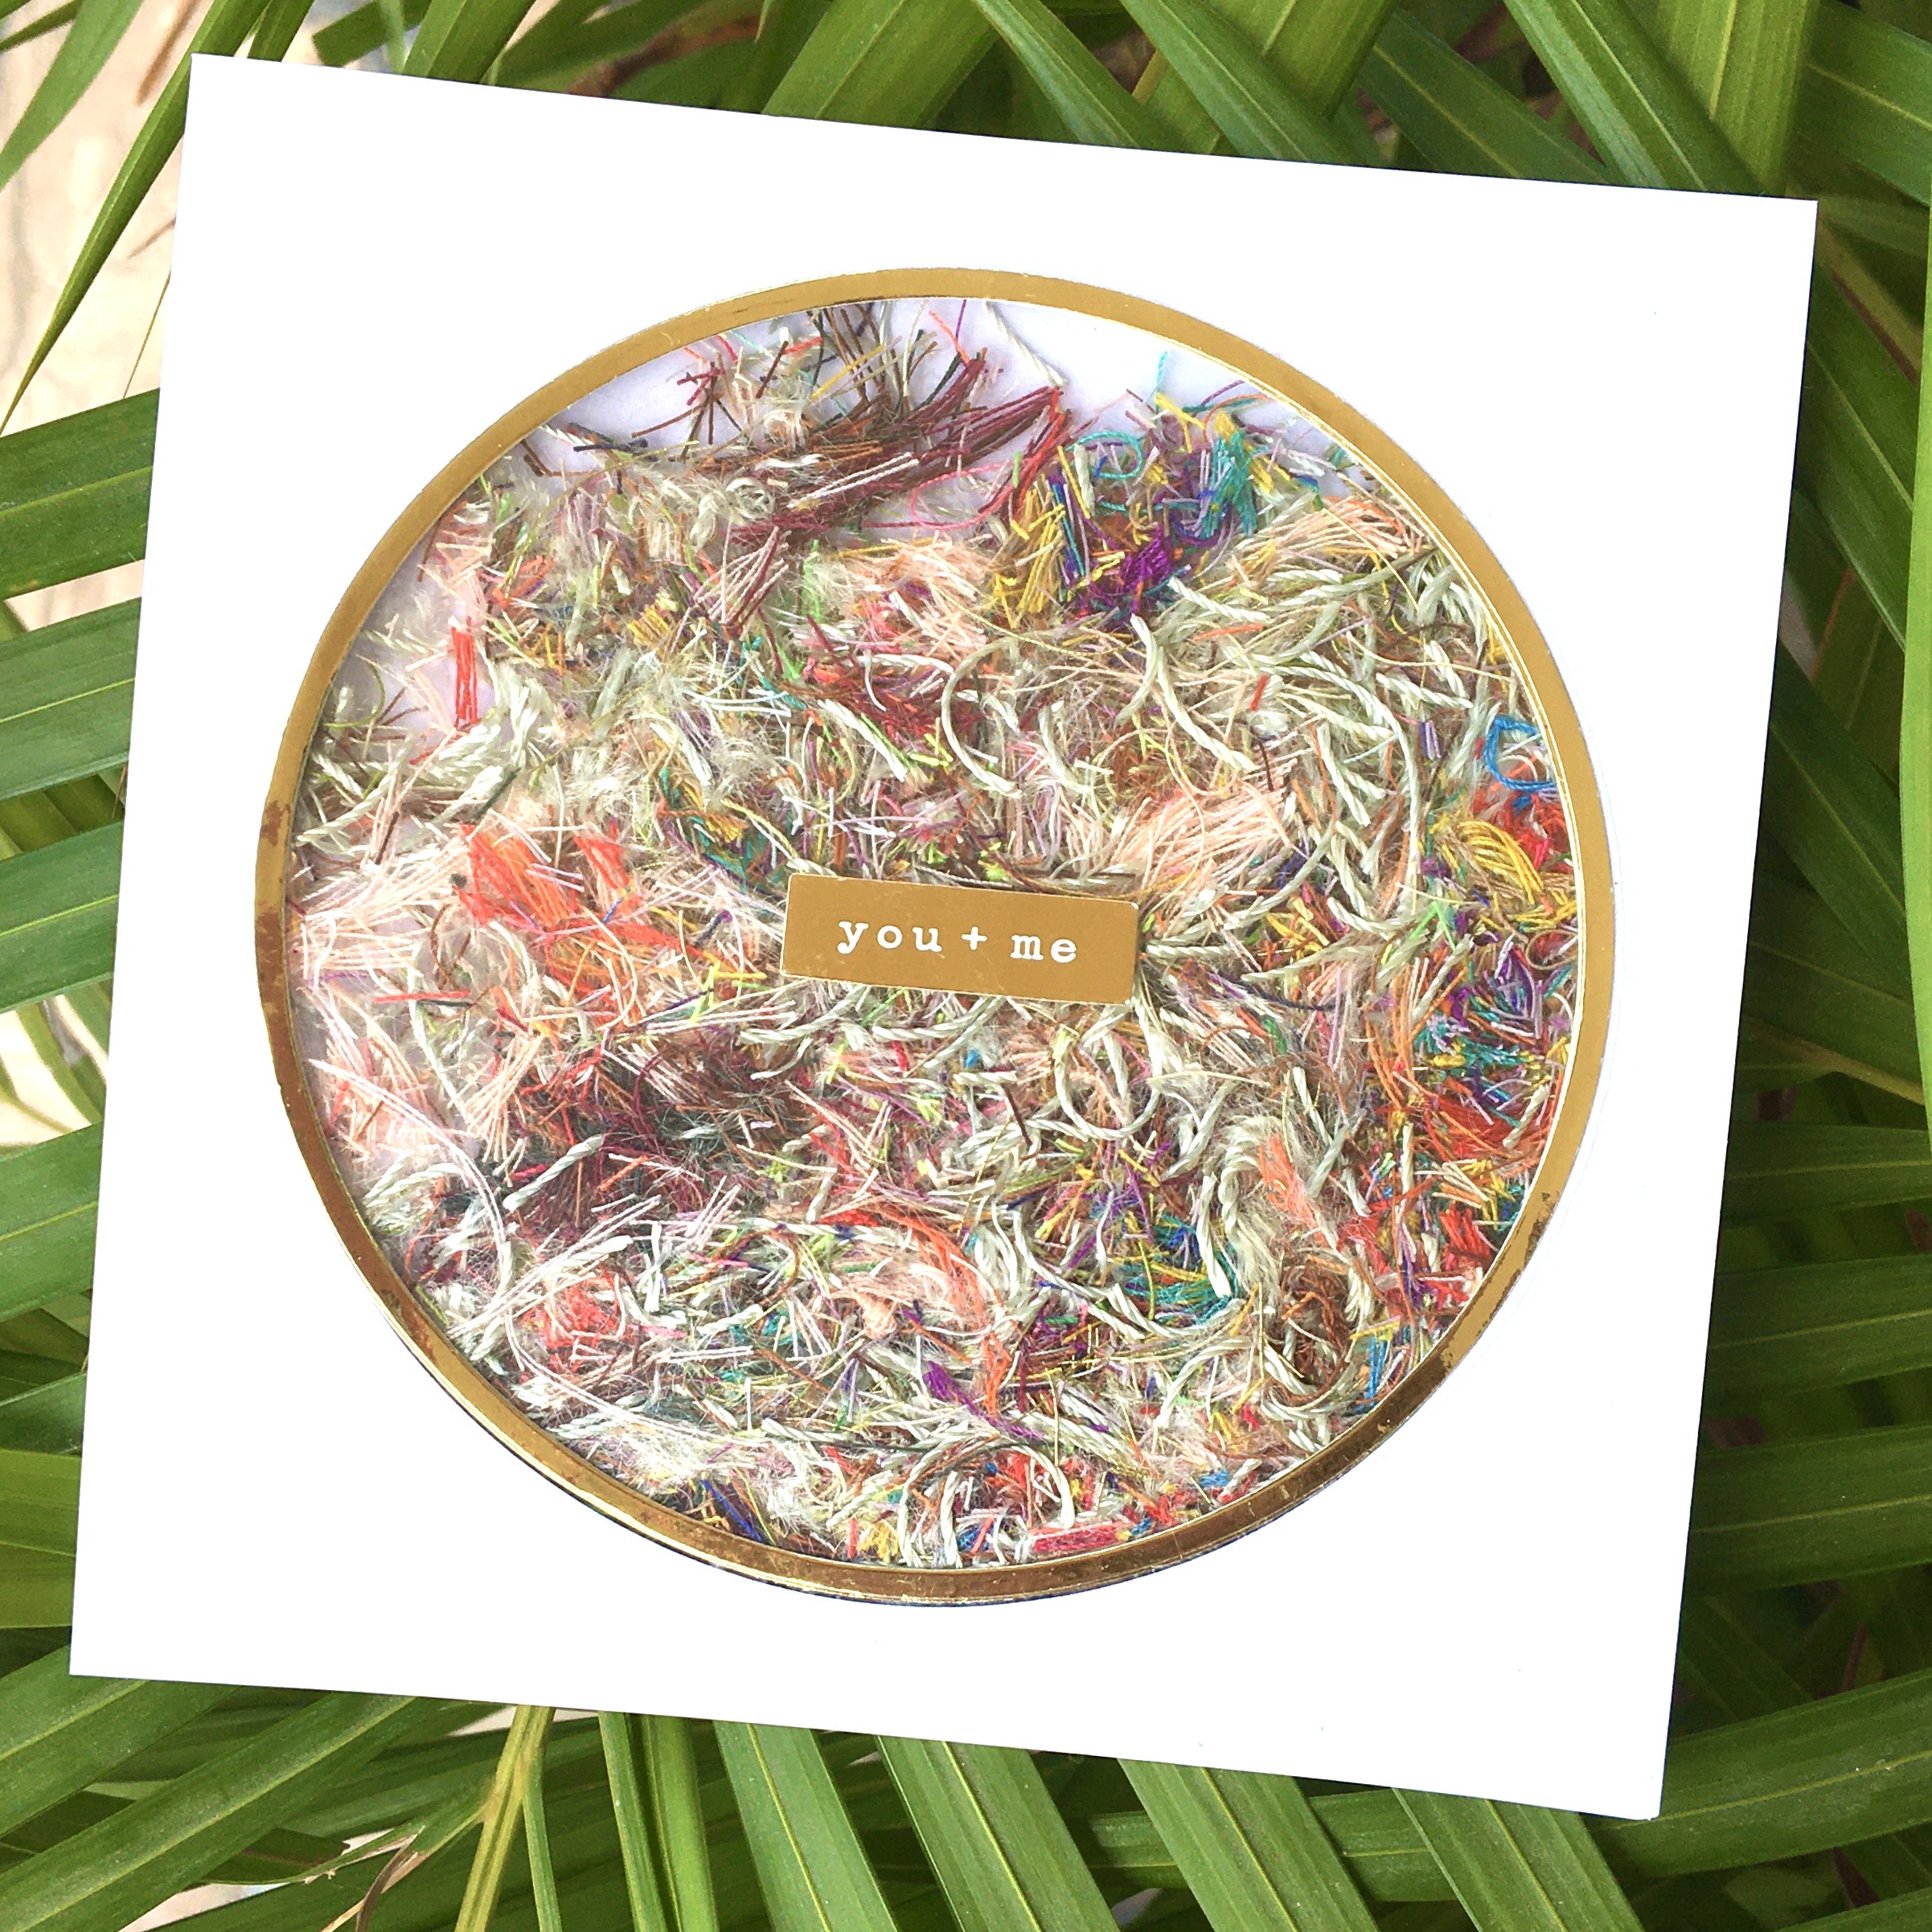
For the first card
Here is what you will need:
White cardstock
Gold foil cardstock
Acetate
Foam tape
Essentials by Ellen Essential Shapes Circle
Sewing threads in colors of your choice

These are the instructions:
- Cut two white cardstock sheets to 5×5 inches for front panel and 10×5 inches for the card base.
- Use circle die to cut a window in the center of the front panel
- Glue acetate sheet to the back of the front panel.
- Adhere foam tape all around circle window so that it is completely sealed all the way around
- Roll threads of different colors into a ball.
- Cut ball of thread into small pieces about 0.25 inches or smaller.
- Spread the small pieces of thread into the circle window
- Remove release paper from the foam tape and adhere second 5×5 inch panel to the back
- Adhere to folded card base
- Add sentiment
- Cut frame from gold forum cardstock using corresponding Essentilas by Ellen Essential shapes circle die
- Adhere frame
- Your card is complete!
I think this card looks so chaotic and so cool! I love the interest all those itty bitty threads add. I could get lost looking at it.
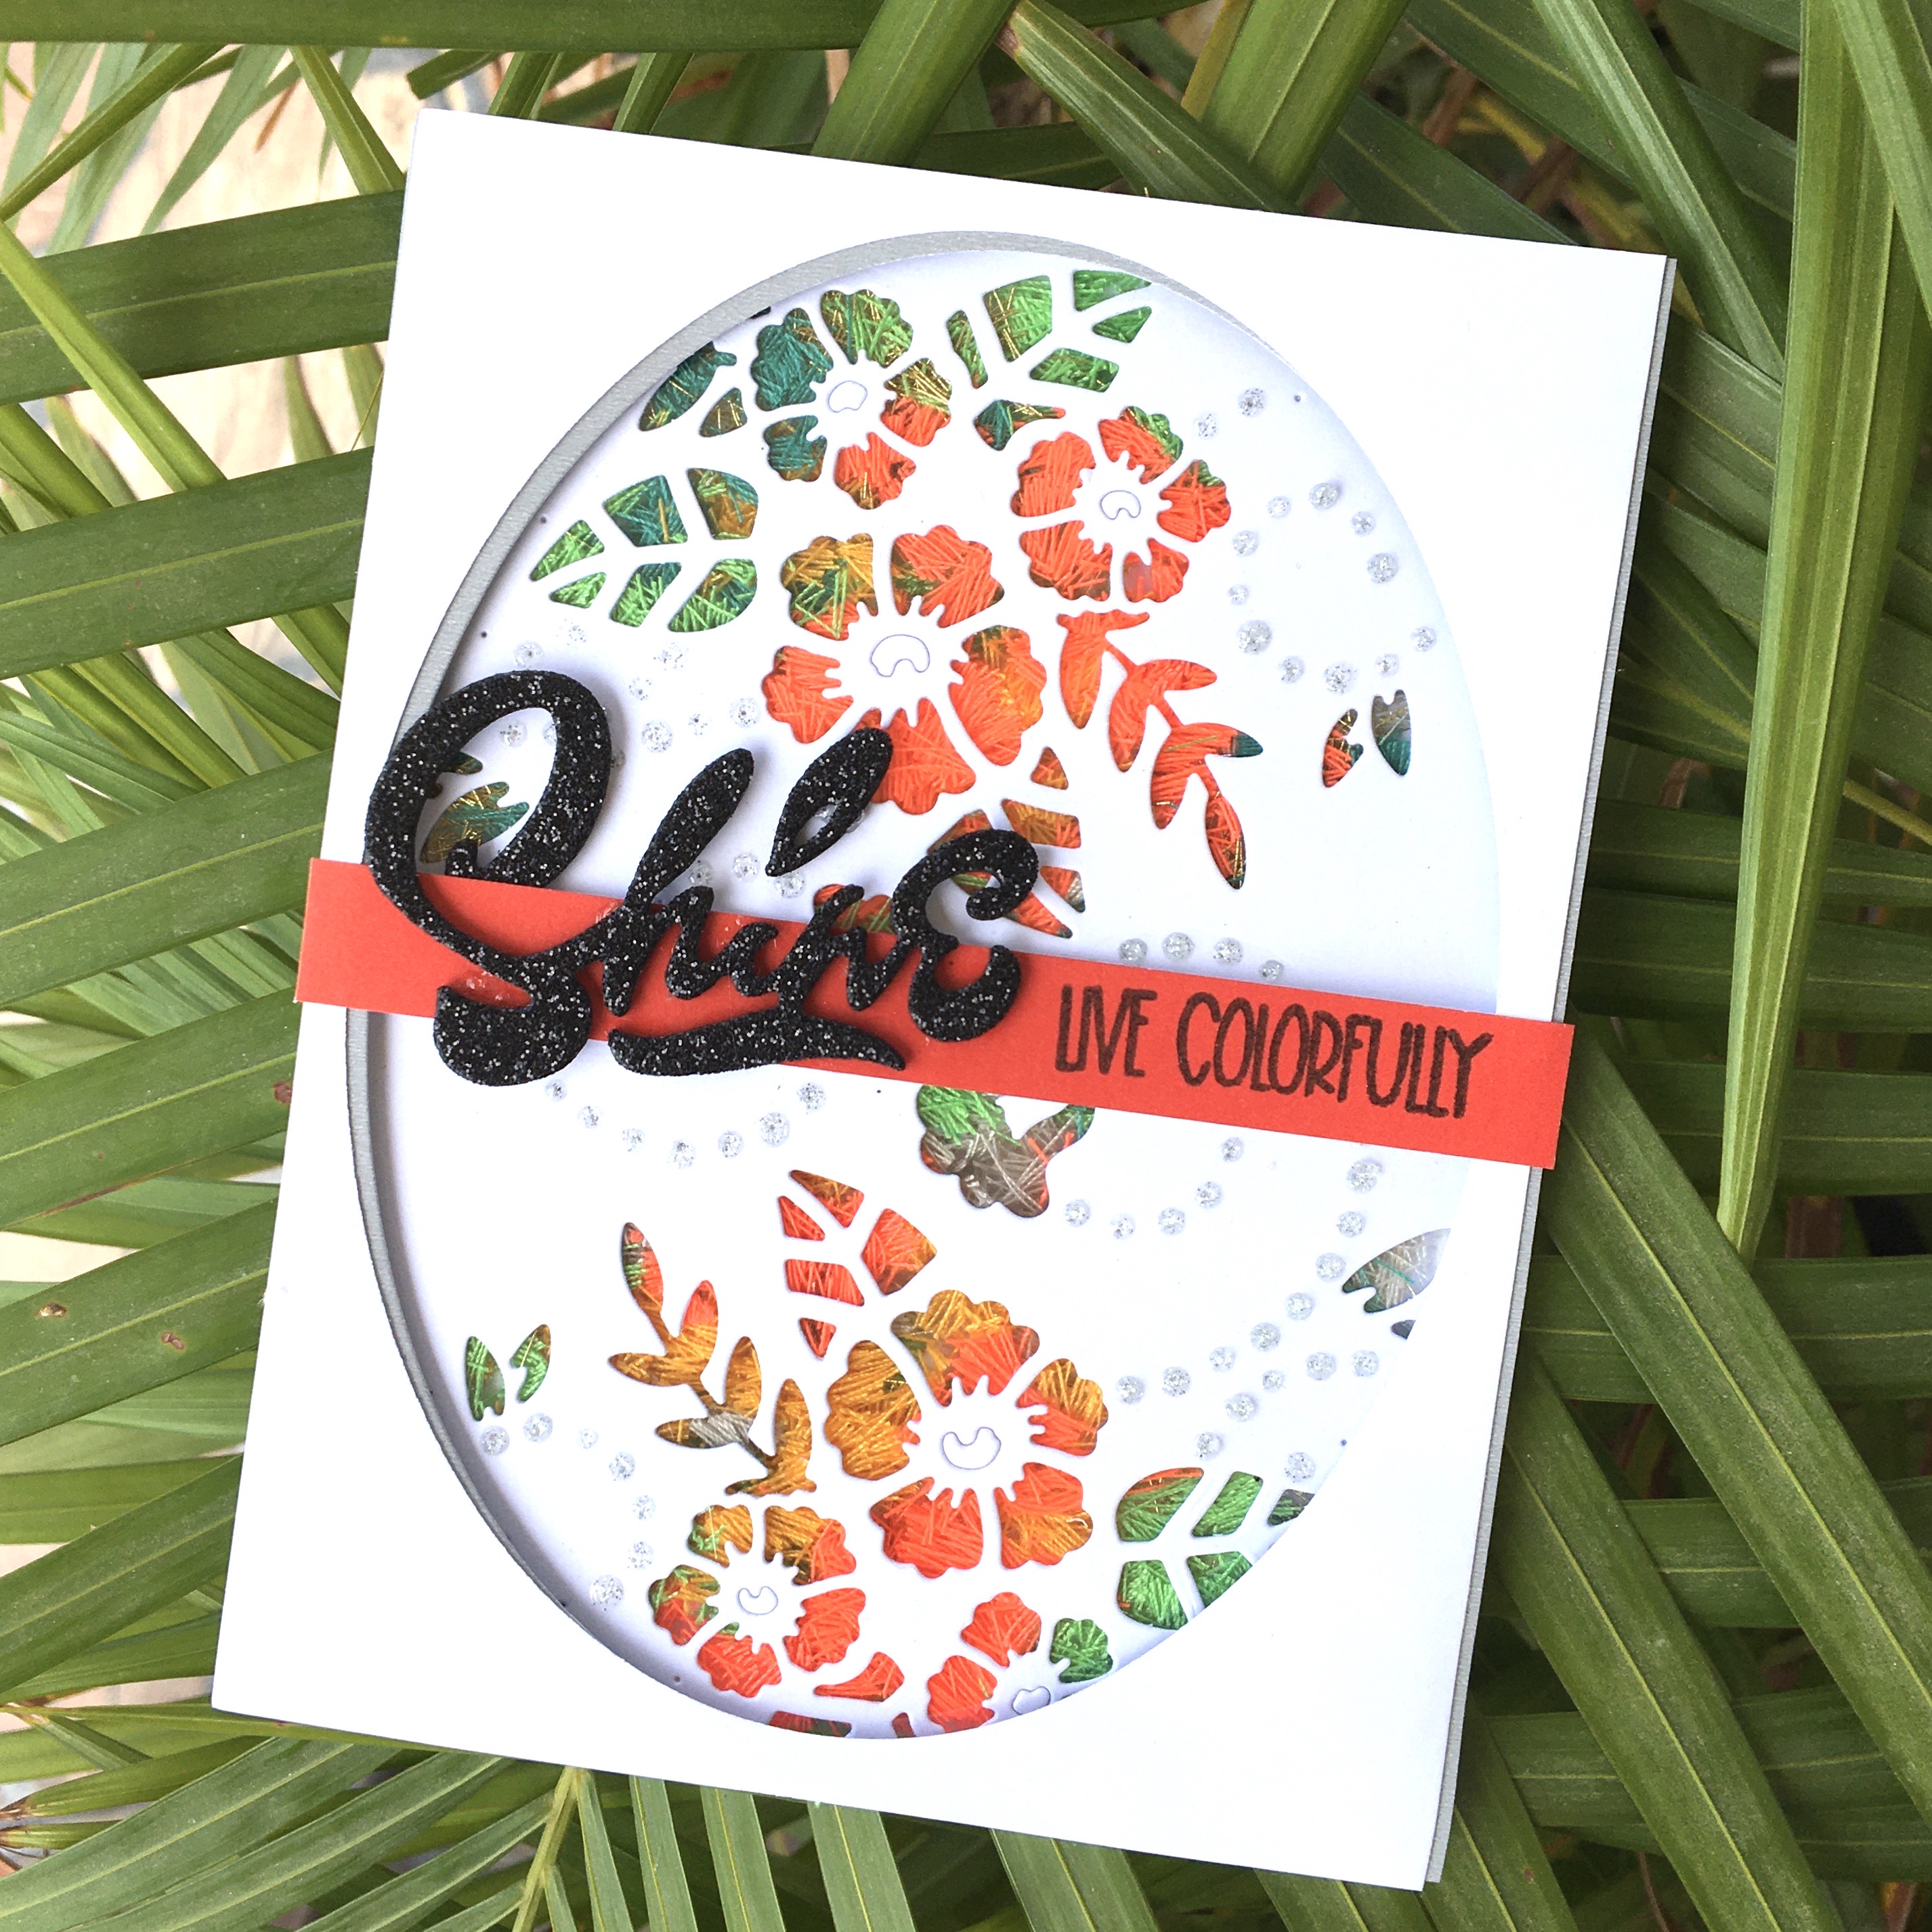
For card 2
Here is what you will need:
- White Cardstock
- Black glitter foam
- orange cardstock strip
- sewing threads of your choice
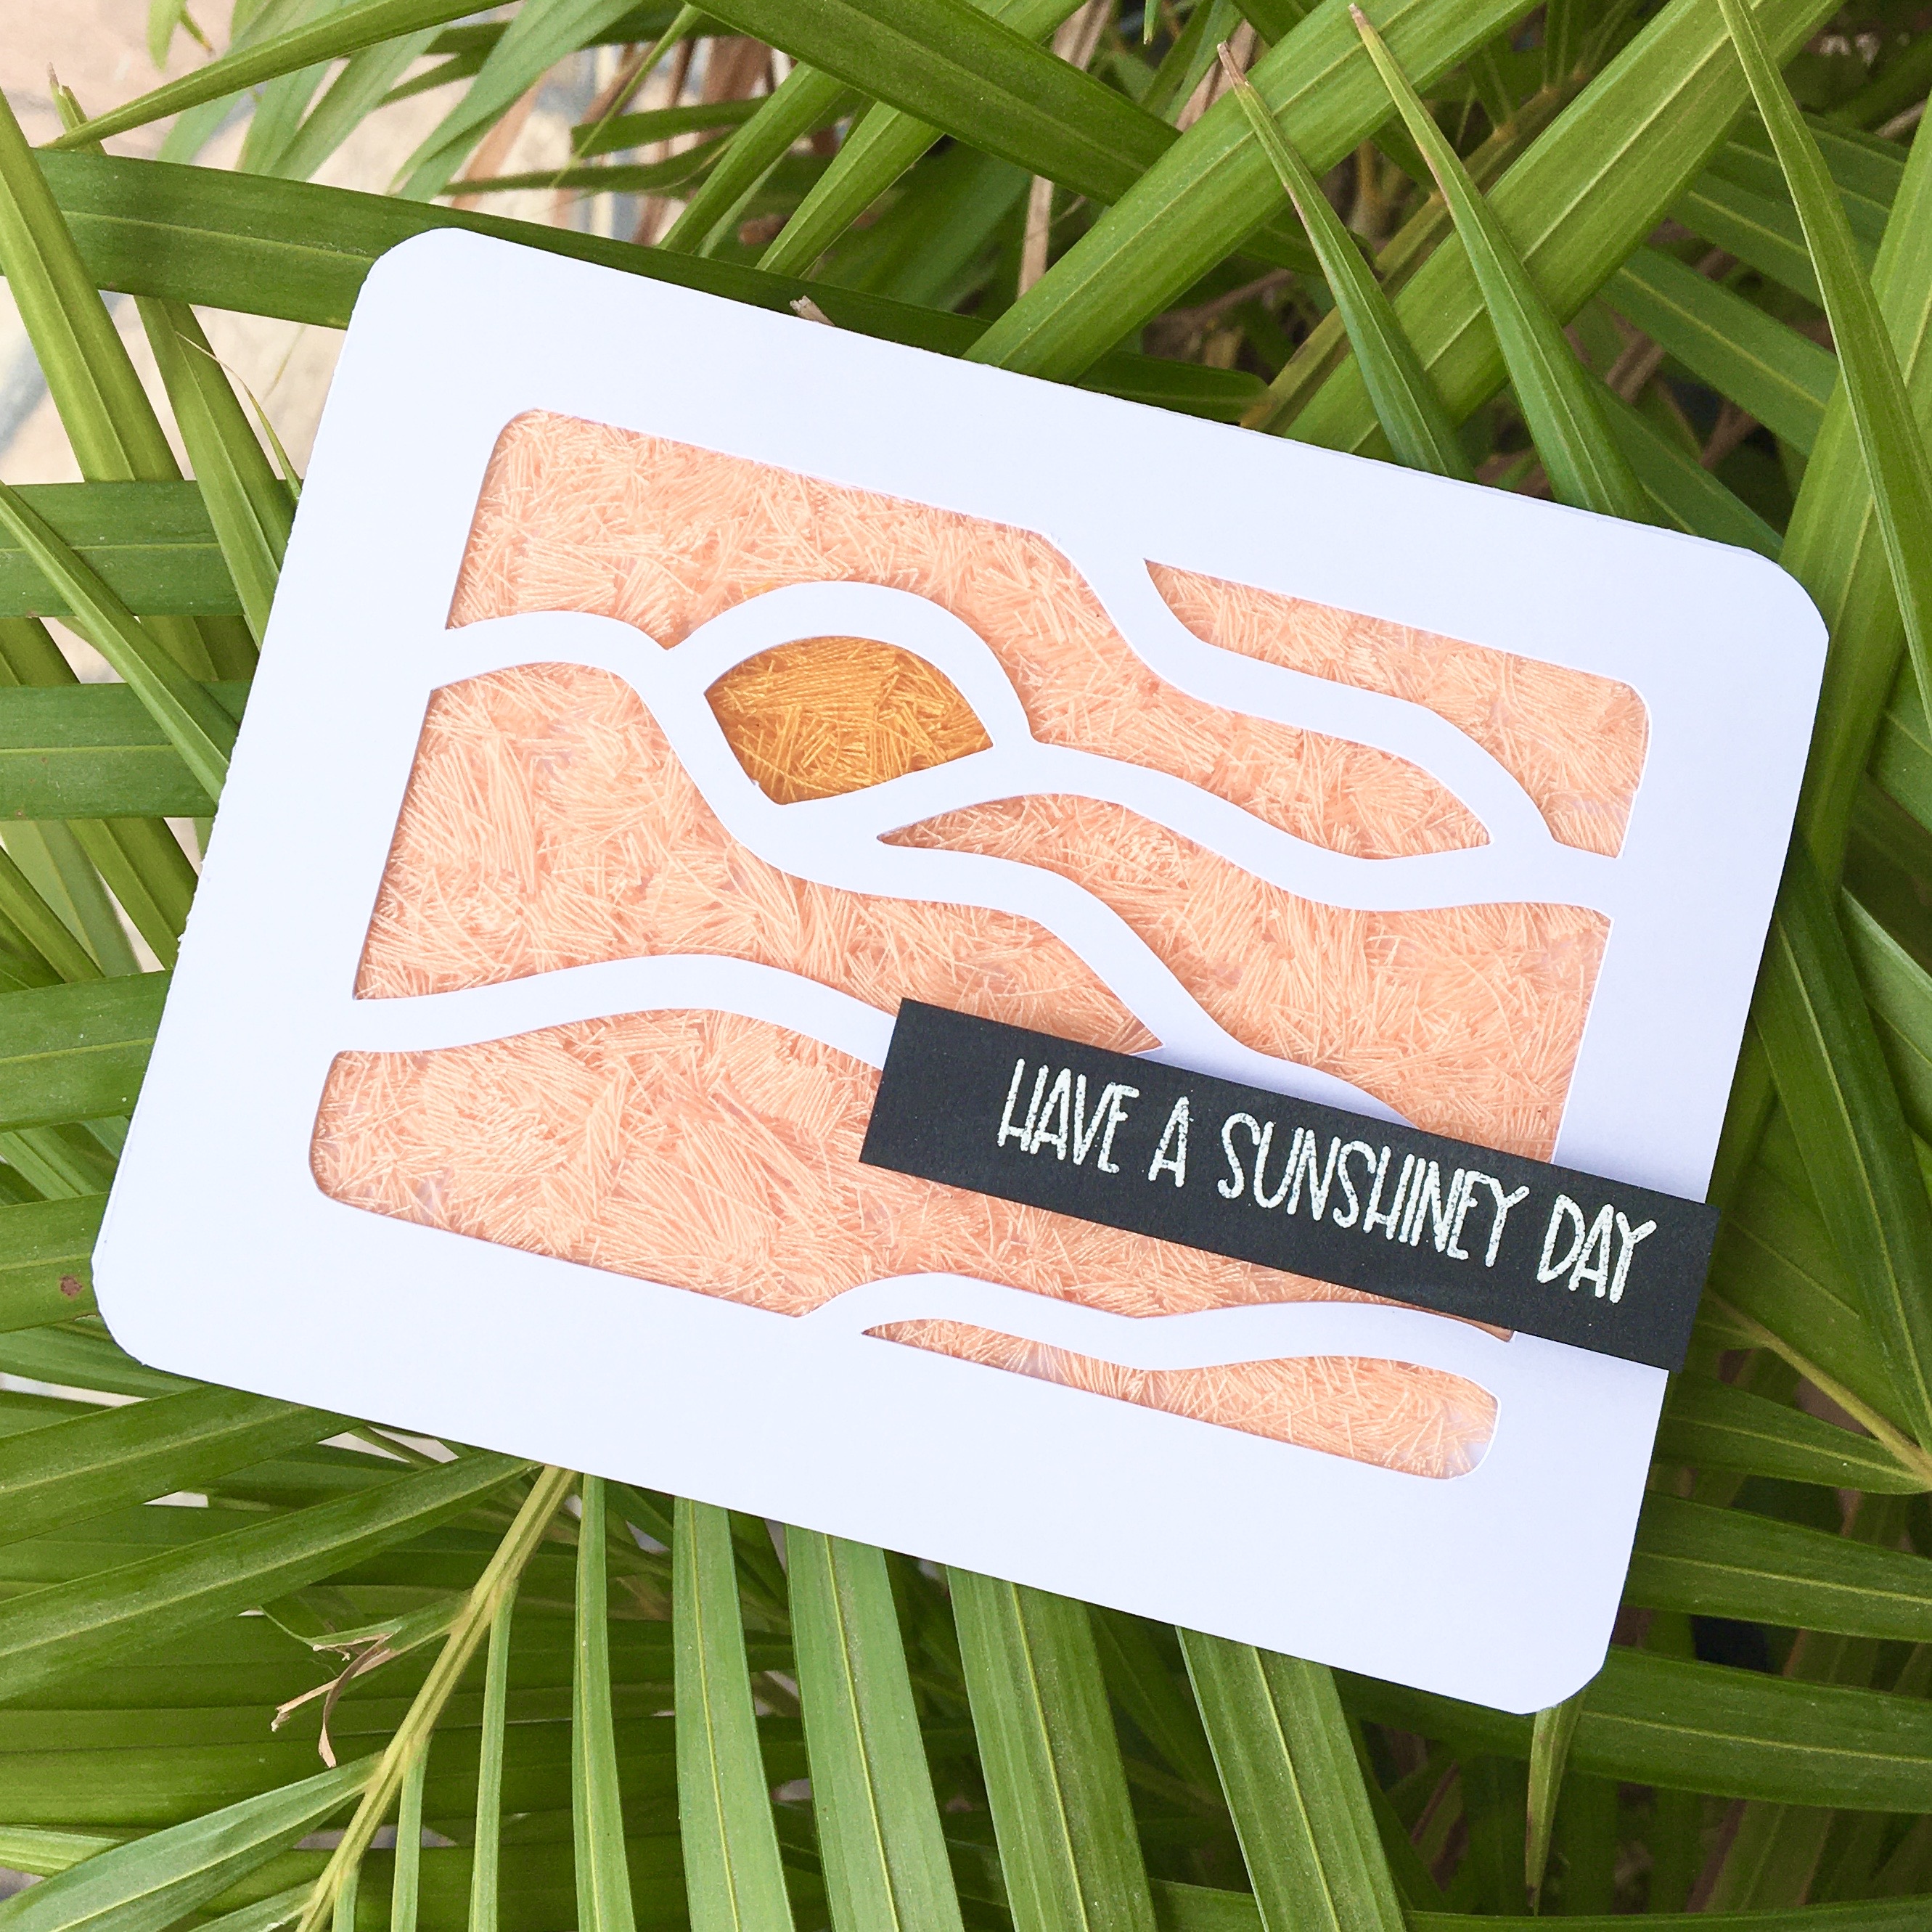
- Scrapbook . com Sunshiney Day stamp set
- Erin Lee Creative Shine Die
- Tonic Studios for Scrapbook . com Blossom Spray Die (out of stock)
- Nuvo Crystal Drops – Glitter Drops – Silver Moondust
- Essentials by Ellen Essential shapes Oval
Here are the instructions:
- Cut the floral die twice into this 5.5 *4.25 card front and glue an acetate sheet of the same size to the back.
- Cut oval window into 5.5×4.25 panels of grey and white cardstock and adhere with foam tape.
- Use foam tape to create a seal along the back edges of the acetate piece similar to what you would do for a shaker card! You could skip the foam tape and cut the 2 oval panels from craft foam. This will make the process much easier.
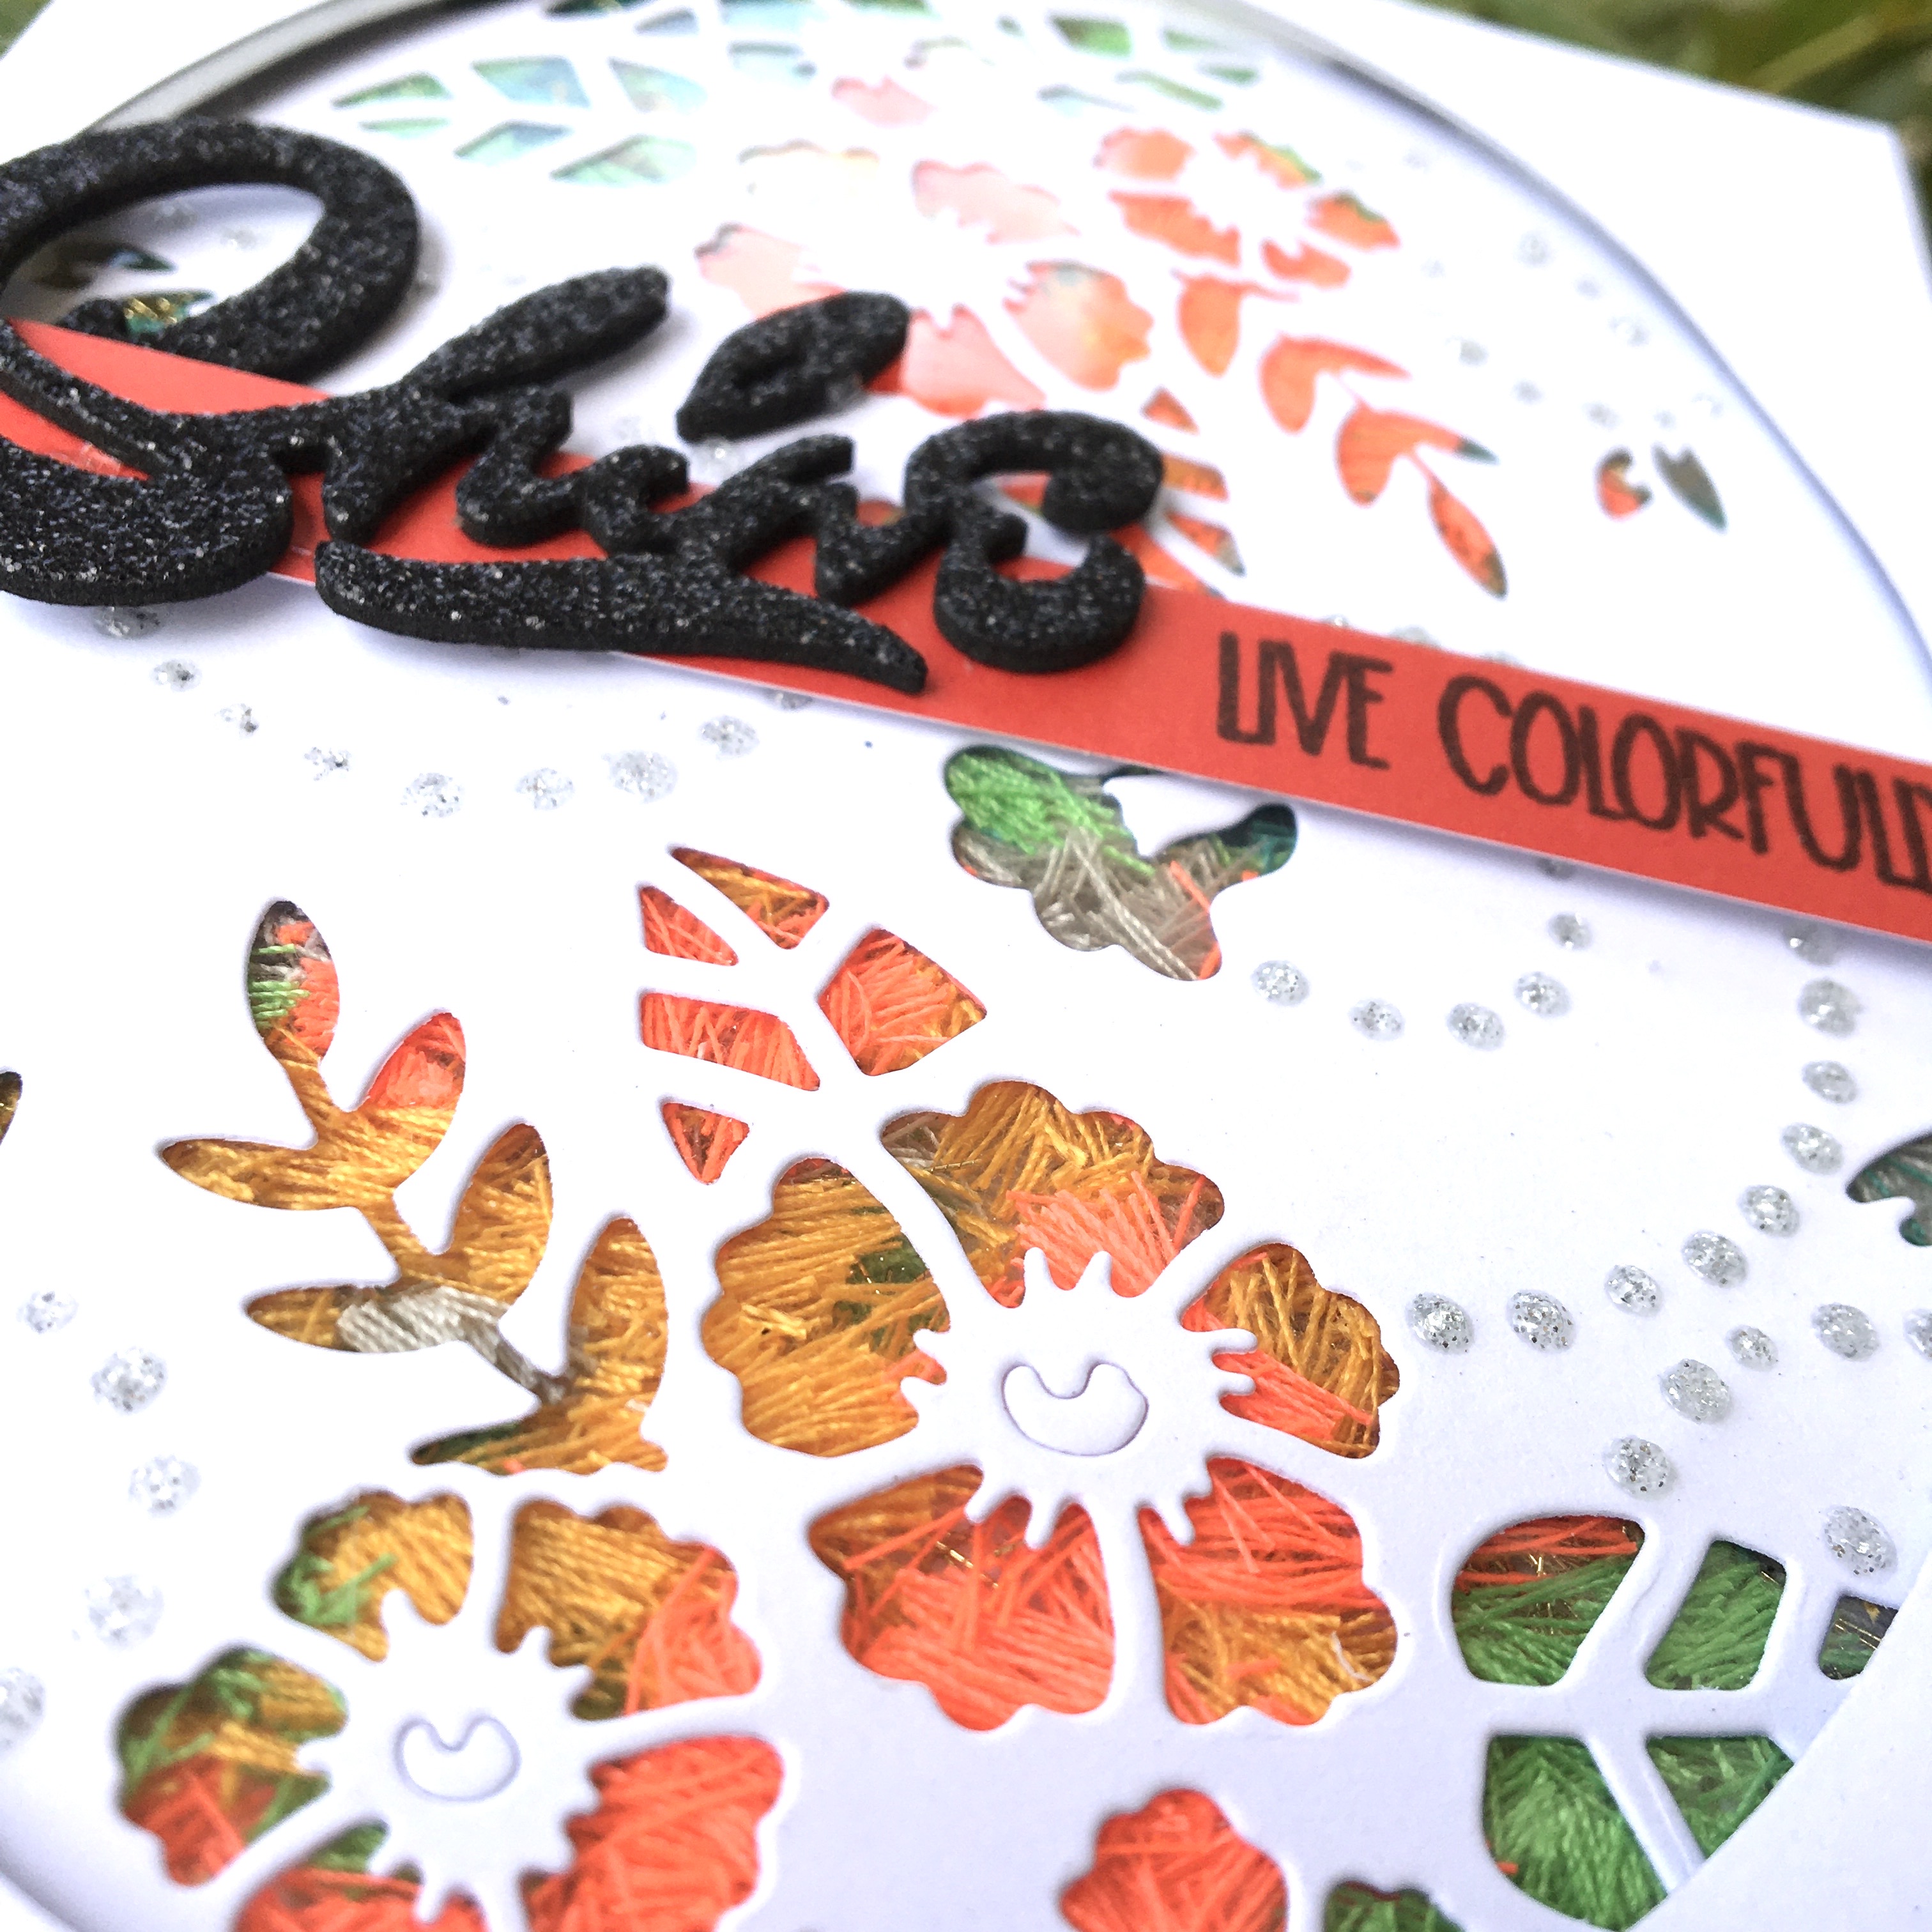
- Wrap each color of thread around 4 fingers multiple times until you have a thick loop of thread. The thicker it is the more pieces you will have after cutting so always do more than less.
- Cut each loop of thread into small pieces into separate containers or piles.
- It’s time for the fun part.
- Place panel face down and add each colour in the areas you would like them. This part is pretty easy and quick. Take care to pull threads away from the sides so they don’t shift or stick to the foam tape when it is being exposed.
- Tip: You don’t need a lot of dimension at the back because the thread is compressible so you don’t even have to use foam tape unless you have used a lot of thread.
- Add nuvo drops by following the outline made by the die.
- After nuvo drops have dried, cut the shine sentiment from black glitter foam ( why don’t I always use glitter foam for all my sentiments 🙌, it is the perfect amount of dimension in one cut without having to stack 3 or 5 layers of paper. I think I’ll be using foam from now on for sentiments ).
- Stamp this sentiment from scrapbook.com in black ink on orange cardstock.
- Your card is complete!
Find all these cards in my new Youtube Video which is linked below and on my Instagram.

Thank you so much for stopping by. If you would like to see more please visit my Instagram page. Let me know if you will be trying this technique. Happy Crafting!
Lots of Love ,
CreativeIbby
